
Pruning
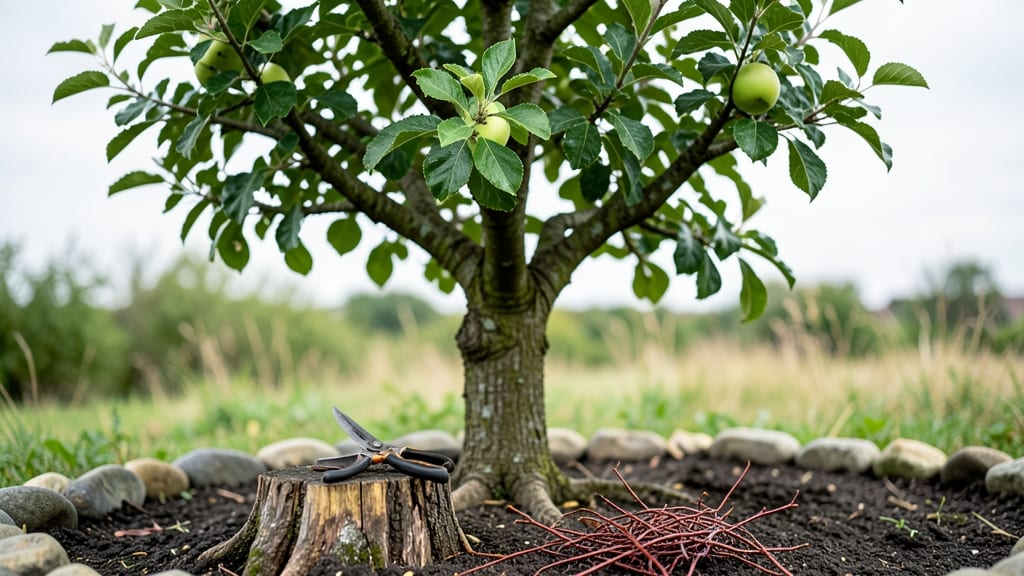
Trimming fruit trees isn’t just about shaping—it’s the difference between a bounty of fruit and a tangled mess of branches. I learned that after my peach tree produced so many tiny, sour fruits it nearly broke under the weight, all because I’d ignored the pruning for two years.
The right cuts at the right time let light and air reach every branch, which means bigger, sweeter fruit and fewer diseases creeping in.
You only need three basic cuts to transform your tree: heading cuts to control size, thinning cuts to improve airflow, and removal cuts for dead or crossing branches. The tools are simple—a sharp bypass pruner, loppers for thicker branches, and a saw for anything over 2 inches thick.
Timing matters too: late winter for apples and pears, early spring for stone fruits, and summer for citrus to avoid frost damage. Even a 30-minute session every year keeps trees productive for decades.
What you’ll end up with is a tree that looks like a well-trained dancer—not a wild tangle. Apples hang heavy but not rotten, peaches ripen evenly, and citrus stays compact enough to harvest without a ladder.
The best part? You’ll spend less time fighting pests and more time enjoying the harvest. Ready to see that transformation? Let’s get those branches in shape.
This works for any fruit tree—dwarf varieties need lighter cuts, while standard trees can handle more aggressive shaping. Just remember: prune when the tree is dormant for major cuts, and avoid heavy pruning in summer heat. Start small, and you’ll build confidence (and a better harvest) with each season.
📚 In This Guide
- What you need
- Instructions
- Tips and common mistakes
- Wrapping up and next steps
What you need
- ● Pruning shears: Bypass pruners (sharp, 6-8" blades) for small branches (¼"–¾" thick). Anvil pruners (for thicker wood, but can crush branches—use sparingly). Quantity: 1 pair per person.
- ● Loppers: Long-handled (20–30") for medium branches (¾"–2" thick). Quantity: 1 pair.
- ● Pruning saw: Curved-tooth saw for branches >2" thick. Quantity: 1.
- ● Gloves: Heavy-duty, cut-resistant (leather or synthetic). Quantity: 1 pair per person.
- ● Disinfectant: 70% isopropyl alcohol or bleach solution (1 part bleach to 9 parts water) to sterilize tools between cuts. Quantity: Small spray bottle.
- ● Rubbing alcohol or hand sanitizer: For cleaning wounds (just in case!).
- ○ Extension pole: Optional but handy for tall trees (10–15 ft). Attach loppers or a pruning saw.
- ● Pruning sealant: Wound dressing (like Tanglefoot Tree Wound Pruning Seal) for large cuts (>½" diameter). Quantity: Small tube.
- ● Ladder: Sturdy, extendable ladder (20–30 ft) for high branches. Safety tip: Always have a spotter!
- ● Work boots: With ankle support for stability.
- ● Safety glasses: Protect your eyes from debris.
- ● Tree bag or tarp: To collect fallen branches and fruit.
- ● Notebook & pen: For mapping out cuts or tracking tree health over time.
How to trim fruit trees for maximum yield and longevity
Here's the method I've used for years—clean, precise cuts that boost fruit production.
✂️ Step 1: Perform Winter Dormancy Pruning for Structure
Start in late winter while trees are still dormant but before buds swell. This is when you shape the tree's framework. Remove dead, diseased, or crossing branches first—they compete with healthy growth and invite pests. Cut back to the branch collar, the swollen area where the branch meets the trunk, so the tree can heal properly.
Next, open up the center of the tree by removing branches that grow inward. You want sunlight and air to reach all parts of the canopy. Aim to create an open vase shape for easy access when harvesting. I like to step back every few cuts to visualize the tree's structure—it helps me see what needs thinning.
For young trees, limit pruning to no more than 25% of the canopy in the first year. Over-pruning stresses the tree and reduces next year's fruit set. Watch for sucker growth—those vigorous shoots at the base or along branches—and remove them completely. They drain energy from fruit production.
✂️ Step 2: Light Summer Pruning to Improve Airflow
About 6-8 weeks after flowering, do a second round of pruning to remove water sprouts (fast-growing vertical shoots) and any branches rubbing against each other. These cuts encourage fruit development rather than excessive foliage. Make cuts just above an outward-facing bud to guide future growth in the right direction.
This is also when you thin out clusters of fruit. Leave one fruit per spur (the short branch where fruit forms) for apples and pears, or one cluster per branch for grapes. Overloaded branches often produce small, poor-quality fruit. I use sharp pruning shears to make clean cuts—ragged edges invite disease.
If you notice branches growing toward the center, trim them back. The goal is to create a balanced canopy where sunlight reaches all fruit. Avoid heavy pruning now—just light maintenance to keep the tree healthy. You'll see fewer leaves but better-sized fruit as a result.
✂️ Step 3: Post-Harvest Cleanup for Disease Prevention
After harvest, remove all dead wood, diseased branches, and mummified fruit (those that didn't fully ripen). These harbor fungal spores and pests that can overwinter. Burn or dispose of infected material—don't compost it. Sterilize your pruning tools with a 10% bleach solution (1 part bleach to 9 parts water) to prevent spreading pathogens.
Now's also the time to shape the tree for next year. Look for branches that grew too vigorously during the season and trim them back by one-third to control size. For fruit trees like peaches or plums, thin out some of the smaller branches to reduce shading and improve fruit quality.
Finish by giving the tree a deep watering after pruning. The roots need to recover from the stress of cutting. I always check the soil moisture—if it's dry 2 inches below the surface, water thoroughly. This helps the tree prepare for winter dormancy with strong roots.
Tips & tricks for perfect fruit tree trimming
These simple strategies will help you avoid common mistakes and maximize your tree's fruit production.
Timing is Everything: The late winter timing in Step 1 is crucial because dormant trees heal faster and you can see the structure clearly without leaves. I always check my local frost dates—pruning too early risks damage from late frosts, while waiting too long means buds will swell and bleed sap. For most climates, aim for just before buds break, typically February through early March. This timing gives your tree plenty of growing season to recover before winter.
Branch Collar Matters: When removing branches in Step 1, never cut flush with the trunk—always leave the branch collar intact. This swollen area contains healing tissues that help the wound close properly. I've seen too many trees develop cankers from improper cuts, so I mark the collar with a pencil before cutting to ensure I don't go too far. The collar is usually that swollen ridge where the branch meets the trunk—don't cut below it!
Visualization Technique: Step back every 5-10 cuts during Step 1 to visualize your tree's structure. I stand 10 feet away and imagine sunlight streaming through the center. If you can see light through the middle, you're doing it right. This open vase shape prevents disease by improving airflow and makes harvesting easier. For young trees, I sketch a simple diagram before starting to plan my cuts—it saves time and prevents over-pruning.
Post-Pruning Watering: The deep watering in Step 3 is often overlooked but essential. After making cuts, roots are exposed and need moisture to recover. I always check soil moisture by pushing my finger 2 inches down—if it feels dry, water until moisture reaches 6 inches deep. This helps the tree prepare for winter dormancy with strong roots. For container-grown trees, water immediately after pruning since they dry out faster.
Pro Tips for Trimming Fruit Trees
- These simple strategies will help you avoid common mistakes and maximize your tree's fruit production.
- Timing is Everything: The late winter timing in Step 1 is crucial because dormant trees heal faster and you can see t...
- Branch Collar Matters: When removing branches in Step 1, never cut flush with the trunk—always leave the branch colla...
Frequently asked questions
Got questions about trimming fruit trees? You’re not alone! Here are some of the most common concerns—plus straightforward answers to keep your trees thriving.
When is the best time to trim fruit trees?
The ideal timing depends on your tree type. For most fruit trees (like apples, pears, and cherries), late winter or early spring—just before buds swell—is best. Summer trimming (after harvest) helps shape growth, while light pruning can happen year-round for safety or disease removal. Pro tip: Avoid heavy cuts in fall to prevent disease entry.
Can I trim fruit trees myself, or should I hire a pro?
Small trees or minor pruning? DIY is totally doable with the right tools and research! For large, mature trees (especially over 15 feet tall) or complex shapes, hiring an arborist ensures safety and precision. Watch out for: Over-pruning, which stresses trees, or cutting too close to branches (leave a small collar).
How do I know if I’m trimming too much?
You’re likely overdoing it if you see:
- More than 25% of the tree’s canopy removed in one session.
- Excessive water sprouts (fast-growing, weak branches) after pruning.
- No new growth or yellowing leaves in spring.
Rule of thumb: Trim just enough to open the canopy for sunlight and air flow—think “less is more” for fruit-bearing branches.
What if my tree gets sick after trimming?
Sickness often stems from open wounds or contaminated tools. Sterilize pruners with rubbing alcohol between cuts, and seal larger wounds with pruning sealant (optional for most fruit trees). Watch for signs like oozing sap, fungal spots, or wilting—these may need fungicide or professional help. Preventative tip: Trim during dry weather to minimize disease risk.
Are there alternatives to traditional pruning?
Yes! For delicate trees or small spaces, consider:
- Topiary shaping (using shears for decorative forms).
- Espalier training (growing trees flat against walls or fences).
- Drop crotch pruning (removing entire branches at the base for rejuvenation).
Each method serves a purpose—just match it to your tree’s needs and your goals (fruit yield vs. aesthetics).
Wrapping up and next steps
Trimming your fruit trees isn’t just about aesthetics—it’s the secret to bountiful harvests and long-term health! 🌳 By mastering the three strategic cuts (dormant, summer, and post-harvest), you’ll encourage strong growth, better fruit production, and fewer pests.
Whether you’re a beginner or a seasoned gardener, consistent pruning pays off in delicious rewards.
Ready to transform your orchard? Grab your tools, pick a sunny day, and start trimming with confidence. Your future fruit will thank you—one snip at a time! 🍏✂️