
Pruning
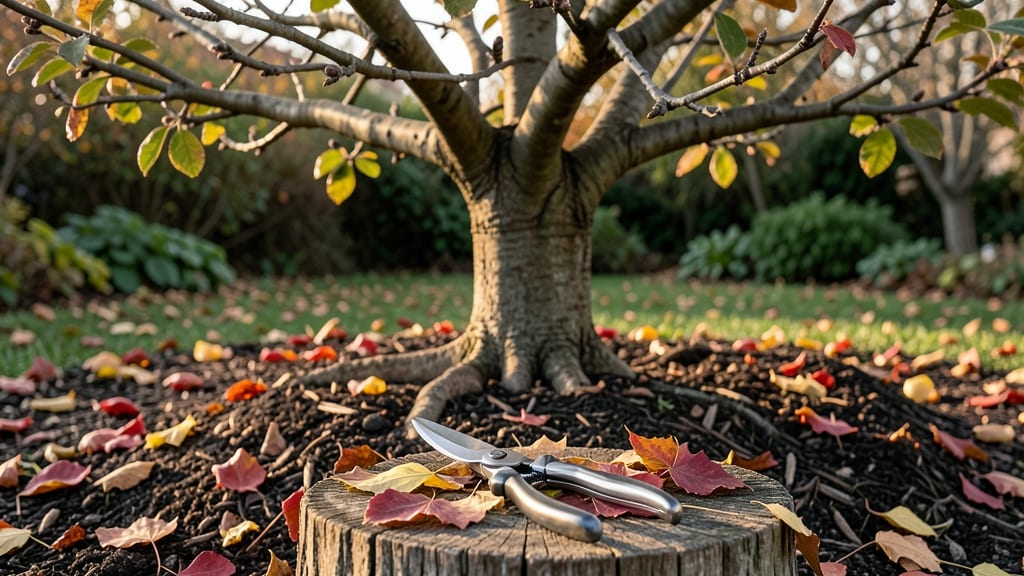
Autumn apple tree pruning isn’t just about shaping branches—it’s the secret to next summer’s fruit load and winter survival. I learned the hard way that pruning too late or too aggressively can invite disease and frost damage, but timing it just right transforms your tree into a foolproof fruit factory.
The key window opens after harvest and closes before hard frost, giving you about 6-8 weeks to work without stressing the tree.
This isn’t your typical late-winter pruning either. Autumn cuts focus on removing deadwood, thinning crowded branches, and opening the canopy to sunlight—all while avoiding major structural changes that could stress the tree before winter.
You’ll need sharp pruners, a saw for thicker branches, and rubbing alcohol to sterilize tools between cuts. The goal? A tree that wakes up in spring with stronger branches and fewer disease entry points than it had last fall.
What you’ll get is a tree that produces heavier, more uniform fruit next season while staying resilient against winter winds. The open center lets air circulate, reducing rot and fungal issues that plague poorly pruned trees.
Plus, you skip the messy sap flow of late-winter pruning—autumn cuts heal cleaner and faster in the cooler air.
Works best in USDA zones 4-8, but the principles apply anywhere apple trees grow. Just adjust timing slightly for early or late frosts. Ready to give your tree the autumn care it deserves? Let’s get those branches in shape before winter sets in.
📚 In This Guide
- What you need
- Instructions
- Tips and common mistakes
- Wrapping up and next steps
What you need
- ● Bypass Pruners: Sharp, high-quality pruners (e.g., Felco F-2) for clean cuts on branches up to ½ inch thick.
- ● Loppers: Heavy-duty loppers (e.g., Fiskars X27) for branches ½ to 2 inches thick—extendable handles are a game-changer for tall trees!
- ● Pruning Saw: A curved-tooth saw (e.g., Bahco) for thicker branches (2+ inches). Always keep a spare blade on hand!
- ● Rubbing Alcohol (70%+): 8 oz bottle to sterilize tools between cuts and prevent disease spread.
- ● Disposable Gloves: 2–3 pairs of nitrile-coated gloves (thick enough for thorns but flexible for grip).
- ● Tree Wrap or Pruning Sealant: 1 roll of tree tape or sealant (e.g., Tanglefoot Tree Wound Pruning Seal) for large cuts.
- ● Ladder or Step Stool: Sturdy, extension ladder (rated for your tree’s height) or a foldable step stool for smaller trees.
- ● Bucket or Wheelbarrow: 5-gallon bucket or wheelbarrow to collect pruned branches and debris.
- ● Sharpie or Permanent Marker: For marking branches to remove (if planning ahead).
- ● Pole Pruner: For high branches—saves ladder time!
- ● Safety Glasses: Protects eyes from debris.
- ● Work Apron with Pockets: Keeps tools and alcohol handy.
- ● Spray Bottle with Water: Dampen cuts to reduce sap splatter.
- ● Camera or Phone: Snap before/after photos to track progress!
How to prune apple trees in autumn for next year’s harvest
This is the time to shape your tree’s future—do it right and you’ll reward yourself with stronger branches and fruit loads.
Gather Your Tools and Assess the Tree
Start with sharp, clean tools: a pruning saw for thick branches, pruning shears for smaller limbs, and gloves to protect your hands. I always disinfect my blades with rubbing alcohol first—this prevents spreading disease between cuts. Grab a ladder if your tree stands over 10 feet tall, and a notebook to sketch your plan.
Walk around the tree to identify dead, diseased, or crossing branches—these are your top priorities. Look for limbs rubbing against each other or growing inward; these create wounds that invite rot. Also spot any suckers (shoots growing from the base) or water sprouts (vertical shoots with no leaves)—these sap energy from fruit production.
Remove Dead, Diseased, and Problematic Branches
Begin by cutting out dead wood—branches that snap easily when bent or have no bark. Make clean cuts just outside the branch collar (the swollen area where the branch meets the trunk). Avoid leaving stubs; these trap moisture and rot. For diseased branches, cut 6 inches below the visible signs of infection to ensure you remove the entire affected area.
Next, tackle crossing branches—remove one of the two if they’re rubbing. Always keep the healthier branch (the one with thicker bark or better angle). For water sprouts, cut them back to a lateral bud or side branch. These vertical shoots grow fast but produce no fruit, so pruning them early saves your tree’s energy for next year’s blossoms.
Thin the Canopy for Airflow and Light
Step back and visualize the tree’s open-center shape—apple trees thrive with a wide, airy canopy. Remove 20-30% of the smallest branches to improve airflow, which reduces fungal diseases like apple scab. Focus on branches growing inward or downward; these block light and crowd the center. Aim for a balanced, umbrella-like structure where sunlight reaches the inner branches.
For each cut, make it at a 45-degree angle just above an outward-facing bud. This encourages new growth to continue outward, keeping the tree’s shape open. Avoid cutting back to a stub—always leave a bud or lateral branch to guide future growth. If you’re unsure which branch to keep, follow the "one-third rule": never remove more than one-third of the tree’s foliage in a single season.
Prune for Fruit Production and Structure
Now focus on fruit-bearing branches. Look for scaffold branches (the main limbs forming the tree’s structure) and ensure they’re spaced 12-18 inches apart. If a scaffold branch is overcrowded, thin it by removing smaller competing limbs. For fruit spurs (short, stubby branches that produce fruit), avoid heavy pruning—just trim back any dead or diseased sections.
If your tree has vertical shoots growing straight up, cut them back to a lateral bud. These shoots rarely produce fruit and create weak branch angles. For overly dense clusters, remove every other branch to reduce competition. This might seem harsh, but it forces the tree to invest energy into stronger, fruit-heavy branches. After pruning, step back and admire your work—you’re shaping next year’s harvest now.
Tips & tricks for autumn apple tree pruning
These practical insights will help you prune like a seasoned orchardist—saving you time and ensuring your tree thrives for years to come.
Tool Prep Matters: Never skip disinfecting your tools between cuts. I learned this the hard way after my neighbor’s tree developed mysterious spots—turns out my shears carried fungal spores from another branch. Wipe blades with rubbing alcohol after every 3-4 cuts, especially when dealing with diseased wood. This single step can prevent years of fruit loss from spreading infections.
Visual Cues for Healthy Branches: When deciding which crossing branches to remove in Step 2, look for these clues: the branch with thicker bark and a wider angle to the trunk is usually the stronger choice. Also check for leaf scars—healthier branches have more prominent ones. Remember, you’re not just pruning for shape, but for the tree’s long-term health and productivity.
The One-Third Rule in Practice: That 20-30% canopy thinning in Step 3 isn’t arbitrary—it’s based on how much foliage your tree can comfortably support. If you’re unsure whether you’ve gone too far, count the remaining branches and compare to your original sketch. I once removed 40% of a branch by accident and noticed stunted growth the following spring. When in doubt, err on the side of caution and leave more branches than you think you need.
Pruning Wound Care: After making each cut, the angle and placement matter more than you might think. Always cut just outside the branch collar at a 45-degree angle—this prevents water from pooling and creates a natural seal. For larger branches, make a second cut parallel to the branch’s direction to avoid tearing the bark. These details might seem small, but they make a big difference in how quickly the tree heals and recovers.
Pro Tips for Autumn Apple Tree Pruning
- These practical insights will help you prune like a seasoned orchardist—saving you time and ensuring your tree thrive...
- Tool Prep Matters: Never skip disinfecting your tools between cuts. I learned this the hard way after my neighbor’s t...
- Visual Cues for Healthy Branches: When deciding which crossing branches to remove in Step 2, look for these clues: th...
Frequently asked questions
Got questions about autumn apple tree pruning? You’re not alone! Here are some of the most common concerns—plus clear, actionable answers to help you prune like a pro this season.
When is the exact best time to prune apple trees in autumn?
The ideal window is late autumn to early winter (November–February in most U.S. zones), once leaves drop but before harsh freezes. Prune after the first hard frost (when the tree is fully dormant) to minimize disease risk and stress. Avoid pruning in wet or windy conditions—aim for dry, calm days. Pro tip: If you missed autumn, wait until early spring before buds swell!
Can I prune apple trees in autumn if they’re still holding some leaves?
Leaves aren’t a dealbreaker, but they’re a red flag. If your tree still has leaves in late autumn, it’s likely still semi-active. Wait until all leaves fall and the tree is fully dormant (no green tissue) to prune. Pruning too early can stress the tree or invite pests. If you’re unsure, check for brown, brittle branches—that’s your cue!
What if I prune too much? Will my apple tree die?
Over-pruning is risky, but not fatal—if you stay within 25–30% of the tree’s canopy (never more than 1/3), it’ll bounce back. Severe cuts (>50%) can weaken the tree, reduce fruit next year, or invite disease. Focus on removing dead, diseased, or crossing branches first. Rule of thumb: If you’re tempted to hack aggressively, scale back—patience pays off with bigger harvests!
Do I need to seal pruning cuts on apple trees?
No! Sealing cuts with paint or pruning sealant is not recommended for apple trees. Healthy wood heals faster with natural callus formation. Sealants can trap moisture, promoting rot. Just make clean cuts (use sharp tools!) and avoid leaving stubs. Exception: If your tree is in a high-disease zone, a thin layer of horticultural sealant (like Tanglefoot) on large cuts may help—but it’s optional.
What’s the difference between autumn pruning and spring pruning for apple trees?
| Autumn Pruning | Spring Pruning |
|---|---|
|
|
Best practice:
Combine both! Autumn sets the foundation, while spring fine-tunes for fruit production.
Wrapping up and next steps
Pruning your apple tree in autumn is a game-changer—it sets the stage for healthier growth, better fruit production, and a stronger tree come spring! By following the right techniques and timing, you’ll encourage vibrant blooms and bountiful harvests while keeping pests at bay. 🍏✨
Now that you’re armed with the knowledge, grab those pruners and get started! Your tree—and future harvests—will thank you! For extra confidence, check out seasonal pruning guides or consult a local arborist before diving in.