
Pruning
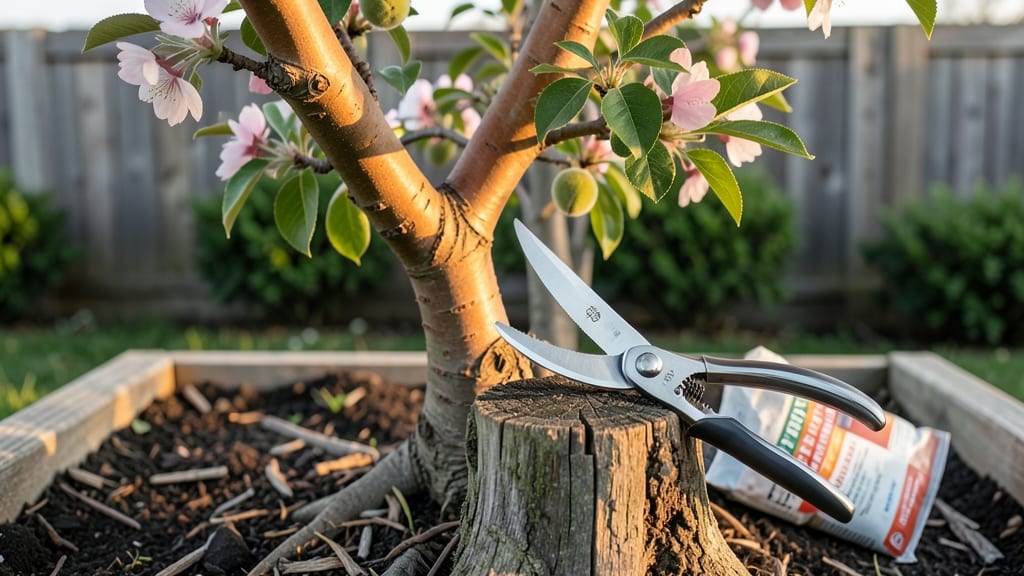
Late winter is the best time to trim peach trees—when they're dormant but before buds swell. I’ve learned the hard way that cutting at the wrong time can invite disease or stunt fruit production, but timing it right transforms your tree from scraggly to bursting with potential.
The key is working just as the last frost passes but before new growth starts, usually between late February and early March in most zones.
You’ll need sharp pruning shears, loppers for thicker branches, and a clean cutting surface to prevent infections. My first mistake was using dull tools, which tore bark and left ragged edges—now I disinfect everything with rubbing alcohol between cuts.
The goal is to open the center for airflow, remove dead wood, and shape the tree into an open vase, which lets sunlight reach all branches for better fruit set.
After pruning, you’ll notice thicker branches with fewer weak limbs, and by summer, your tree will be covered in blossoms instead of sparse, shaded growth. The best part? Proper cuts now mean fewer pests and diseases later, plus fruit that ripens evenly.
Just avoid heavy pruning in summer—it stresses the tree when it’s already working hard to feed developing peaches.
For those who prune in summer, focus on light shaping and removing suckers, but never more than 10-15% of the tree’s canopy. And if you’re in a humid climate, wait until late winter to prune—wet conditions speed up fungal spread.
The secret? Patience and precision. Your tree will thank you with juicy, abundant fruit next season.
📚 In This Guide
- What you need
- Instructions
- Tips and common mistakes
- Wrapping up and next steps
What you need
- ● Pruning shears: Bypass pruners (for cuts up to ½ inch thick) – 1 pair (look for ergonomic, sharp blades).
- ● Loppers: Bypass or anvil type (for branches ½ to 2 inches thick) – 1 pair (prioritize long handles for reach).
- ● Pruning saw: Curved-tooth saw (for branches 2+ inches thick) – 1 saw (avoid rust; carbon steel is ideal).
- ● Gloves: Heavy-duty, cut-resistant (to protect from thorns and debris) – 1 pair (waterproof fabric recommended).
- ● Safety glasses: ANSI-rated – 1 pair (essential for flying debris protection).
- ● Disinfectant: 70% isopropyl alcohol or bleach solution (1 part bleach to 9 parts water) – to sterilize tools between cuts and prevent disease spread.
- ○ Sealant: Pruning sealant (like Tanglefoot Tree Wound Pruning Sealer) – small jar (optional for large cuts over ½ inch; research mixed opinions on necessity).
- ● Ladder or step stool: Sturdy, non-slip – if your tree exceeds 6 feet in height.
- ● Marking twine or tape: – to flag branches for removal before cutting.
- ● Work clothes: Long sleeves and pants – to protect from scratches and sun exposure.
- ● Weather: Dry, calm conditions – avoid pruning if rain or wind is forecasted within 24 hours.
- ● Timing: Late winter (just before buds swell) or early spring – ideal window: February to early March (varies by climate zone).
- ● Tree health: Prune only when the tree is dormant (no active growth) to minimize stress.
Step-by-step guide for pruning peach trees in late winter
Late winter is the perfect time to shape your peach tree—here's how to do it right.
Assess the Tree and Gather Your Tools
Start by examining your peach tree closely. Look for dead, diseased, or crossing branches first—these are your top priorities. I always begin with a walk around the tree, scanning from the ground up. Healthy branches have smooth bark and vibrant green buds, while dead wood appears gray or black and snaps easily when bent.
Grab your pruning tools: a sharp bypass pruner for branches up to ½ inch thick, and a pruning saw for anything larger. Sterilize your tools with rubbing alcohol to prevent spreading disease. I keep a small spray bottle of alcohol handy for quick cleanups between cuts—it only takes a few seconds and saves headaches later.
Remove Dead, Diseased, and Crossing Branches
Begin by cutting out any dead or diseased branches first. These are the easiest to spot—they won’t have leaves or buds, and cutting them now prevents pests from moving into the tree. Make your cuts just outside the branch collar, the swollen area where the branch meets the trunk. This ensures the tree can seal the wound properly.
Next, remove any branches that cross or rub against each other. These create wounds that invite disease and weaken the tree’s structure. Look for branches growing inward toward the center of the tree—these should go too. I like to step back every few cuts to visualize the tree’s shape. The goal is an open center that allows sunlight and air to circulate freely.
Thin Out Overcrowded Branches
Focus on thinning branches that are too close together. Aim to leave 6-8 inches of space between branches to improve airflow and fruit production. Start from the bottom of the tree and work your way up, removing smaller branches first. This opens up the canopy and lets sunlight reach the lower branches, which is crucial for peach trees.
Watch for "water sprouts"—fast-growing, vertical shoots that pop up along the trunk or branches. These steal energy from fruit production, so cut them out completely. I usually make these cuts at the base, where the sprout meets the main branch. If you leave even a small stub, the sprout will grow back.
Shape the Tree for Optimal Growth
Now it’s time to shape the tree into an open-center form. Peach trees thrive when they have a balanced structure with a slightly rounded top. Start by selecting 3-5 main scaffold branches—these should be evenly spaced around the trunk and angled outward. Remove any branches that grow straight up or downward, as these create weak attachment points.
For larger branches, make your cuts just above a outward-facing bud or branch. This encourages new growth in the right direction. If you’re unsure which way to cut, imagine the tree as an umbrella—you want the branches to spread outward, not inward. Step back frequently to check your progress. A well-shaped peach tree will look like it’s reaching for the sky.
Clean Up and Monitor the Tree
After pruning, rake up and dispose of all clippings—don’t leave them on the ground, as they can harbor pests and diseases. I like to burn or bag the debris immediately to minimize risks. Once the tree is clean, give it a final inspection. Look for any remaining dead wood, uneven cuts, or signs of stress like oozing sap.
Water the tree deeply after pruning to help it recover. Peach trees are resilient, but they’ll need time to heal, especially if you made larger cuts. Monitor the tree closely over the next few weeks for new growth. If you see buds swelling or leaves emerging, you know the tree is responding well. Avoid fertilizing right after pruning—wait until new growth appears before adding nutrients.
Tips & tricks for perfect peach tree pruning
Late winter pruning sets the stage for a bountiful peach harvest—here’s how to avoid common mistakes and get it right the first time.
Tool Preparation: Sterilizing your tools between cuts is non-negotiable. I’ve seen too many trees suffer from fungal infections spread through dirty pruners. Keep that spray bottle of rubbing alcohol handy—just a quick wipe between each cut prevents cross-contamination. For stubborn branches, dip your pruner in alcohol after every 3-4 cuts to be extra safe. Remember, the branch collar must stay intact when you make your cuts, so don’t saw too close to the trunk.
Branch Collar Awareness: In Step 2, when you’re removing dead branches, focus on cutting just outside the branch collar—the swollen area where the branch meets the trunk. This might seem like a small detail, but it’s crucial for proper wound healing. I’ve seen pruners accidentally cut into the collar, which leaves the tree vulnerable to disease. Think of it like making a clean incision—you want the tree to seal itself off properly. If you’re unsure where the collar is, look for that slight swelling just above where the branch attaches.
Water Sprout Strategy: Those fast-growing water sprouts in Step 3 can be sneaky—they often appear right after pruning. Cut them at the base where they meet the main branch, and don’t leave even a tiny stub. I’ve learned this the hard way: one little stub can grow into a full-blown sprout that steals energy from your fruit production. If you’re dealing with a particularly stubborn sprout, use your pruning saw for precision. And here’s a pro move: mark your cuts with a permanent marker before making them—this helps you visualize the final shape.
Shape Visualization: When shaping your tree in Step 4, step back every 5-6 cuts to check your progress. Imagine your tree as an open umbrella—you want sunlight to filter through to all branches. If you’re struggling to visualize, try this trick: hold a flashlight at the center of the tree and look for shadows. Areas with deep shadows need more thinning. The goal is to create a balanced structure where all branches have equal access to sunlight, which directly impacts fruit quality and yield.
Pro Tips for How And When To Trim Peach Trees
- Late winter pruning sets the stage for a bountiful peach harvest—here’s how to avoid common mistakes and get it right the first time.
- Tool Preparation: Sterilizing your tools between cuts is non-negotiable.
- Branch Collar Awareness: In Step 2, when you’re removing dead branches, focus on cutting just outside the branch collar—the swollen area where the branch meets the trunk.
Frequently asked questions
Got questions about pruning your peach trees? You’re not alone! Here are some of the most common concerns—and their answers—to help you trim with confidence.
When is the best time to trim a peach tree if I missed late winter?
Late winter (just before buds swell) is ideal, but don’t stress if you missed it. Spring is your next best window—prune right after harvest (late summer) to avoid encouraging disease or pests. Avoid heavy pruning in fall, as it can leave wounds vulnerable to winter damage. Light shaping in early spring is better than nothing!
Can I trim a peach tree in summer? What about fall?
Summer trimming is not recommended unless removing dead/diseased wood—it stresses the tree and invites pests. Fall pruning is risky too, as cold weather slows healing. If you must prune later, wait until after leaf drop (late fall) and keep cuts small. Focus on late winter for the best results!
How do I know if I’m over-pruning my peach tree?
Over-pruning happens when you remove more than 25% of the canopy in one session. Signs include stunted growth, sparse foliage, or weak fruit production the next year. Peach trees thrive with 30–50% of their branches remaining. If you’re unsure, err on the side of caution—light pruning is better than aggressive cuts!
Will trimming my peach tree attract more pests or diseases?
Pruning can increase risks if done poorly, but proper technique minimizes threats. Always use sterilized tools, make clean cuts, and avoid trimming when the tree is wet. Remove only dead/diseased wood in late winter, and seal larger wounds with pruning sealant to deter borers and fungal infections.
Do I need to prune young peach trees differently than mature ones?
Yes! Young trees (1–3 years old) need open-center shaping to encourage strong branches—remove suckers and crossing branches early. Mature trees (4+ years) focus on thinning out crowded wood and deadheading fruit spurs. Always prioritize airflow to reduce disease risk in both stages.
Wrapping up and next steps
Trimming your peach tree in late winter isn’t just about shaping—it’s about setting the stage for a bountiful harvest and a healthier tree. By following the right techniques, timing, and tools, you’ll encourage strong growth, better fruit production, and fewer pests.
Now that you’re armed with the how and when, grab those pruners and get ready to transform your backyard into a thriving orchard! 🌱✂️
Your next step? Mark your calendar for late winter or early spring and start pruning—your future peach pies will thank you!