
How To
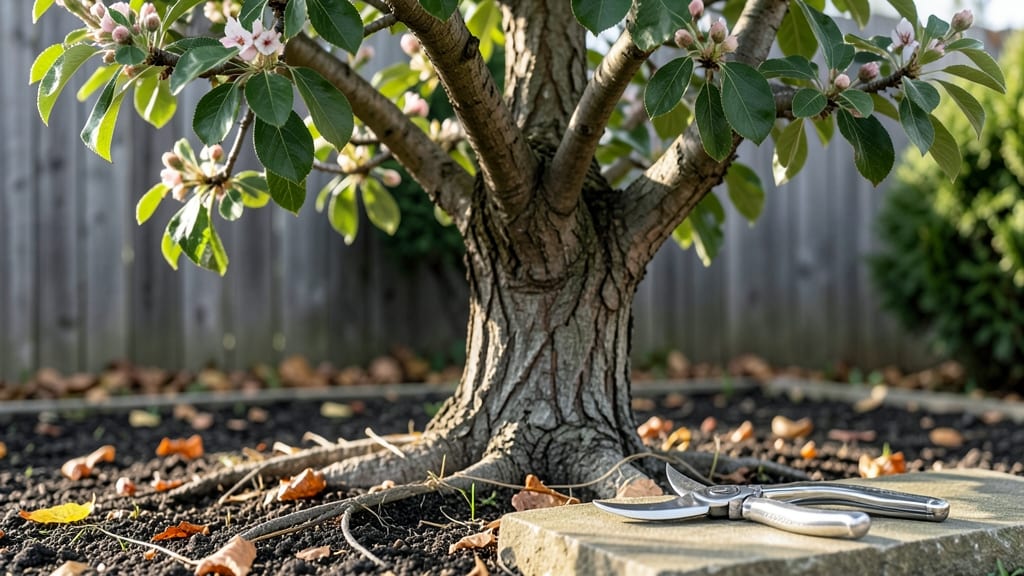
Pruning a plum tree isn't just about shaping branches—it's the difference between a tree that produces abundant fruit for decades and one that struggles with disease or weak growth.
I learned this the hard way after my first plum tree bore only a handful of small plums because I skipped winter pruning. The right cuts at the right time improve airflow, sunlight penetration, and fruit quality while keeping the tree strong.
You'll need just a few tools: sharp pruning shears for small branches, loppers for thicker limbs, and a pruning saw for anything over 2 inches in diameter.
Timing matters most—plum trees need three pruning sessions per year, each with a specific goal: winter for structural shaping, late spring for fruit-bearing branches, and summer to remove suckers.
The key is working when the tree isn't actively growing, so it heals faster and puts energy into fruit production instead of new leaves.
📚 In This Guide
- What you need
- Instructions
- Tips and common mistakes
- Wrapping up and next steps
What you need
- ● Pruning shears (bypass or anvil type) – Sharp, clean, and sized appropriately (6-8 inches) for small to medium branches.
- ● Loppers (for thicker branches) – Look for 8-10 inch handles with a bypass blade for cleaner cuts.
- ● Pruning saw (for large branches) – Choose a curved-tooth saw to avoid tearing wood.
- ● Gloves (cut-resistant) – Heavy-duty leather or mesh gloves to protect against thorns and splinters.
- ● Disinfectant (70% isopropyl alcohol or bleach solution) – 1 part bleach to 9 parts water to sterilize tools between cuts.
- ● Rubbing alcohol or hand sanitizer – For cleaning hands after pruning.
- ● Heavy-duty trash bags or bucket – For collecting pruned branches and debris.
- ● Ladder (if needed) – Sturdy, extendable ladder for reaching higher branches (ensure it’s stable!).
- ○ Pruning sealant (optional) – For large cuts (1+ inch diameter) to prevent disease entry.
- ● Marking twine or flags – To tag branches for future reference if doing extensive pruning.
- ● Safety glasses – To protect eyes from debris, especially when using a saw.
- ● Tree wound dressing (avoid overuse!) – Only recommended for very large cuts; modern research suggests less is often better.
Step-by-step instructions for pruning a plum tree
Here's the method I rely on to keep plum trees productive and healthy year after year.
Understand the Right Time for Each Seasonal Cut
Plum trees need different pruning approaches depending on the season. Start with late winter or early spring—just before buds swell but before new growth begins. This is when you remove dead, diseased, or crossing branches to improve air circulation and light penetration. Avoid heavy pruning in fall, as it can stimulate new growth that won’t harden off before winter.
Summer pruning is all about light shaping and thinning. Wait until after the tree has finished flowering but before harvest season. This prevents stress and ensures fruit development isn’t disrupted. I always check for water sprouts (fast-growing vertical shoots) and remove them immediately—they drain energy from fruit production.
Gather the Right Tools and Prepare the Tree
You’ll need clean, sharp pruning shears for small branches and loppers for thicker stems up to ½ inch in diameter. For anything larger, a pruning saw is essential. Sterilize your tools with rubbing alcohol or a bleach solution (1 part bleach to 9 parts water) to prevent spreading disease between cuts.
Before you start, inspect the tree for dead wood, diseased branches, or signs of pests. Remove any branches with cankers, holes, or sawdust-like frass (a sign of borers). These should go in the trash—not the compost—since they can harbor pathogens. Work on a dry day when the tree isn’t stressed by heat or drought.
Remove Dead, Diseased, and Problematic Branches First
Start with the easiest cuts: dead, diseased, or broken branches. These are your priority targets because they’re already compromising the tree’s health. Look for branches that are gray, brittle, or oozing sap—these are clear signs of disease. Cut back to a healthy bud or branch collar (the swollen area where the branch meets the trunk).
Next, remove crossing or rubbing branches—these create wounds where bacteria and fungi can enter. If two branches are growing toward each other, choose the healthier, more vigorous one to keep and cut the other back to its origin. Never leave stubs; always cut just outside the branch collar to prevent infection.
Thin the Canopy for Better Airflow and Light
Your goal here is to open up the tree’s interior so sunlight and air reach the center. Start by removing suckers (shoots growing from the base or roots) and water sprouts (fast-growing vertical shoots). These compete with fruit-bearing branches for energy. Aim to reduce the total branch density by about 20%—this prevents overcrowding without shocking the tree.
Focus on thinning out rather than topping. Instead of cutting back the ends of branches, look for natural branch unions where you can make clean cuts. This encourages the tree to grow stronger, more productive limbs. After each cut, step back and visualize the tree’s shape—you want a balanced, open canopy with no dense clusters.
Shape and Maintain the Tree’s Structure
Now’s the time to refine the tree’s form. For young plum trees, encourage a central leader (a strong vertical trunk) with 3-4 main scaffold branches spaced evenly around it. For older trees, prune to maintain that structure while removing any branches growing inward or downward.
Use the "third-branch rule" as a guide: if a branch is smaller than the one it’s growing from, it’s likely competing for resources and should be removed. Finish by lightly shaping the outer edges to create a natural, rounded silhouette. Avoid heavy pruning—plum trees respond best to gradual adjustments over time.
Tips & tricks for pruning a plum tree
These practical insights will help you prune like a pro and keep your plum tree thriving for years to come.
Seasonal Timing is Everything: The late winter/early spring window before buds swell is your best time for major pruning. I've learned this the hard way—pruning too early can expose the tree to cold damage, while waiting too long risks encouraging new growth that won't harden off before winter. For summer pruning, that "after flowering but before harvest" timing is crucial—it's when you can do light shaping without stressing the tree during fruit development.
Tool Preparation Prevents Problems: Sterilizing your tools between cuts is non-negotiable. I use rubbing alcohol on a rag between each cut to prevent spreading disease from infected branches to healthy ones. Also, make sure your pruning shears are sharp—dull blades tear wood instead of making clean cuts, which creates larger wounds that take longer to heal. A quick test: if you have to force the blade through a small branch, your shears need sharpening.
Visualizing the Canopy Makes All the Difference: Before making any cuts, step back and visualize your tree's shape from all sides. The goal is to create an open, balanced structure that lets sunlight reach the center. I often sketch a rough outline on paper first—this helps me plan where to make cuts for better airflow. Remember, you're aiming for that 20% reduction in branch density, not aggressive thinning that could shock the tree.
Clean Cuts Create Healthier Trees: Always cut just outside the branch collar where the branch meets the trunk—never leave stubs. I've seen too many trees develop infections from improper cuts. For larger branches, make the cut at a slight angle about 1/4 inch from the collar. This creates a larger wound surface that heals faster, while still protecting the tree's natural defenses. And always dispose of infected branches in the trash, not compost.
Pro Tips for Prune A Plum Tree
- These practical insights will help you prune like a pro and keep your plum tree thriving for years to come.
- Seasonal Timing is Everything: The late winter/early spring window before buds swell is your best time for major prun...
- Tool Preparation Prevents Problems: Sterilizing your tools between cuts is non-negotiable. I use rubbing alcohol on a...
Frequently asked questions
Got questions about pruning your plum tree? You’re not alone! Here are some of the most common concerns—plus clear, actionable answers to keep your tree thriving.
When is the best time to prune a plum tree?
The ideal window is late winter or early spring (just before buds swell), when the tree is dormant but growth is about to kick off. Avoid pruning in fall—it can invite pests and diseases. For established trees, a light summer trim (after harvest) helps airflow, but skip heavy cuts then.
Can I prune a plum tree in summer?
Yes, but keep it minimal! Summer pruning (post-harvest) should focus on removing only water sprouts, diseased branches, or those blocking sunlight. Heavy summer cuts stress the tree and may reduce next year’s fruit. If you must prune heavily, opt for late winter instead.
What if I prune at the wrong time?
No panic! A light mis-timed prune (like a small summer trim) won’t kill your tree. However, avoid pruning in fall—it can expose fresh cuts to fungal infections (like silver leaf disease) and attract borers. If you’ve already pruned too late, monitor for pests and apply a copper fungicide as a precaution.
Will pruning reduce my plum harvest?
Not if done right! Pruning increases fruit quality by improving airflow and sunlight penetration. Heavy pruning in winter may temporarily cut yield that year, but your tree will rebound with bigger, sweeter plums in future seasons. Focus on structural cuts (removing dead/sick wood) and thinning branches to balance growth.
How do I prune a young plum tree differently?
Young trees (under 3 years) need open-center shaping to encourage an upright vase shape. Remove suckers at the base and competing vertical branches to create a sturdy scaffold. Aim for 5–7 main brancheseven lighter to avoid overstimulation.
What if my plum tree bleeds sap after pruning?
Sap bleeding (common in late winter) is normal and harmless—it won’t hurt the tree. To minimize mess, prune on dry days and seal larger cuts (>1 inch) with pruning sealant. Avoid sealing small cuts; they’ll heal faster without it. This sap is just the tree’s way of “crying” over fresh wounds!
Wrapping up and next steps
Pruning your plum tree is a rewarding way to boost fruit production, improve air circulation, and keep your tree thriving for years to come! 🌿 By following seasonal best practices—like removing dead wood in late winter, shaping in early spring, and thinning in summer—you’ll ensure a healthy, productive harvest.
Ready to roll up your sleeves? Grab your pruners and start with just one branch today! Your plum tree (and future jams!) will thank you.