
How To
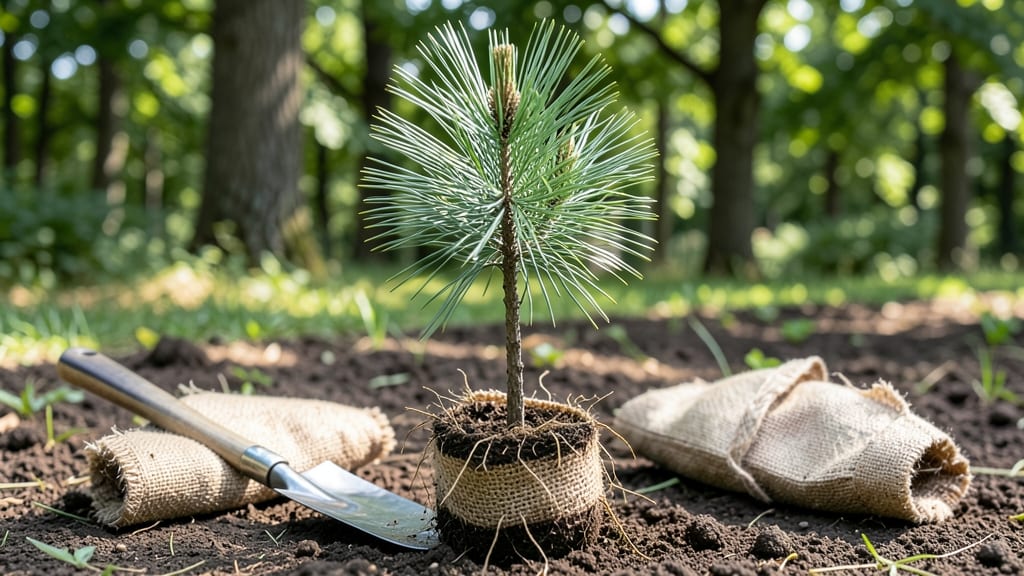
Transplanting a pine tree without causing lasting damage starts with the right timing—spring or early fall when roots are active but not stressed. 🌲 I’ve moved pines from crowded yards to open spaces, and the difference between a thriving transplant and a struggling one comes down to preparation and patience.
The key is working with the tree’s natural rhythms, not forcing it into a schedule that leads to shock.
You’ll need sharp tools to minimize root damage, a sturdy wheelbarrow for moving the root ball, and a pre-dug hole twice as wide as the root system. For mature pines, this means planning ahead—some species like white pines handle transplanting better than needle-drops like ponderosa.
Aftercare focuses on consistent watering, mulching to retain moisture, and avoiding pruning for at least a year. The goal is to let the tree focus on root establishment, not recovery from cuts.
📚 In This Guide
- What you need
- Instructions
- Tips and common mistakes
- Wrapping up and next steps
What you need
- ● Shovel or spade – A sharp, sturdy digging spade (16–18 inches wide) to excavate the root ball without damaging roots.
- ● Pruning shears or saw – For trimming overgrown roots or branches (if necessary). A pruning saw works best for thicker roots.
- ● Garden fork or root rake – Helps loosen compacted soil around the root ball gently.
- ● Wheelbarrow or tarp – To transport soil and the root ball (a 3–4 cubic foot wheelbarrow is ideal).
- ● Burlap or landscape fabric – 2–3 feet wide, to wrap the root ball and prevent soil loss during transport.
- ● Twine or rope – To secure the burlap around the root ball.
- ● Garden hose with nozzle – For watering before and after transplanting (a soaker hose is a bonus!).
- ○ Mulch (optional but recommended) – 3–4 inches of organic mulch (pine bark or wood chips) to retain moisture and regulate soil temperature.
- ● Soil amendments (if needed) – Test your new location’s soil first! Common additions: Compost (1–2 bags) for nutrient-poor soil.
- ● Sand (5–10 gallons) if the soil is too clay-heavy.
- ● Peat moss (1–2 cubic feet) for sandy or dry soils.
- ○ Staking materials (optional) – If your pine is tall or top-heavy: 2–3 wooden stakes (1–1.5 inches thick, 6 feet tall).
- ● Soft tree ties or rubberized straps to secure the tree without cutting into the trunk.
- ○ Root stimulator or mycorrhizal fungi (optional) – Helps reduce transplant shock (follow product instructions for application).
- ● Work gloves – To protect your hands from rough roots and soil.
- ● Knee pads or cushion – For comfort during digging (especially if you’re on your hands and knees!).
- ● Weather check – Plan for a cloudy day or early morning to avoid transplanting in extreme heat or cold.
- ○ Helper (optional but helpful) – Two people make lifting and moving the root ball much easier!
Step-by-Step instructions for transplanting pine trees safely
Here's the foolproof method I've used to relocate pines without losing a single tree.
🪴 Step 1: Choose the Right Time and Prepare the New Location
Pines handle transplanting best during their dormant season—either late fall (after leaves drop) or early spring (before new growth begins). Avoid transplanting during heatwaves or frost, as the tree will struggle to recover. The new spot should mirror the original conditions: same sunlight exposure (full sun to partial shade) and well-draining soil. Test drainage by digging a 12-inch hole—if water pools after 30 minutes, amend the soil with sand or gravel to improve drainage.
Here's the thing—pines hate soggy roots. If your yard has heavy clay, mix 2-3 inches of coarse sand into the backfill soil. I always check the original planting site first: if the pine grew there for years, the soil conditions are already proven. Mark the new planting spot with a stake so you don’t lose track during the move.
🌱 Step 2: Dig the Root Ball and Tree with Care
Start by circumferencing the trunk with a shovel or root saw at least 12 inches from the trunk—this ensures you capture enough roots for stability. Dig a clean, vertical cut around the root ball, then work the shovel under the roots to lift the tree. For larger pines (over 10 feet tall), rent a tree spade—it’s worth the investment. Once lifted, wrap the root ball in burlap or a tarp to protect the roots from drying out.
Don’t rush this step. If the root ball feels loose or crumbly, it’s a sign the tree’s been root-bound. In that case, gently tease the roots apart with your hands or a fork to encourage outward growth. Real talk: I’ve seen pines with roots circling the trunk like a snake—this is a death sentence if left unchecked. If you find this, trim the circling roots with sterilized pruners before transplanting.
☀️ Step 3: Plant the Pine in Its New Home
Dig a hole twice as wide as the root ball but only as deep as the root ball itself—planting too deep suffocates the tree. Place the pine in the hole so the top of the root ball sits level with the surrounding soil (no mounding). Remove any burlap or twine, then backfill with the amended soil, tamping down gently to eliminate air pockets. Water deeply to settle the soil around the roots.
Here’s where it gets easy: stake the tree only if it’s over 6 feet tall or in a windy area. Use two stakes placed opposite each other, tied loosely with rubber tree ties (never wire—it cuts into the bark). The goal is to provide temporary support, not a permanent cage. Mulch around the base with 2-3 inches of wood chips, keeping it 6 inches away from the trunk to prevent rot.
💧 Step 4: Water and Monitor for the First Critical Month
Water the pine every 3-4 days for the first month, soaking the soil to a depth of 12 inches. You’ll know it’s right when water runs out the drainage holes. After that, water once a week unless it’s unusually hot or dry. Overwatering is the fastest way to kill a freshly transplanted pine—yellowing needles are your warning sign.
Watch for new growth in 4-6 weeks—that’s your signal the tree is recovering. If the needles turn brown and crispy, it’s transplant shock, not failure. Keep an eye out for pests like spider mites, which love stressed trees. A light spray of horticultural oil (if needed) will keep them at bay without harming the pine.
Tips & tricks for perfect pine tree transplanting
Took me years of trial and error to perfect—here's how to avoid the mistakes I made that nearly killed my first pine.
Timing Secret: The 30-minute drainage test in Step 1 is non-negotiable. I learned this the hard way when my first transplant drowned in clay soil. If water still pools after 30 minutes, you're dealing with poor drainage. For extreme cases, consider building a raised bed instead of amending the soil—it's the only way to guarantee proper drainage for pines.
Root Ball Rescue: When you're digging in Step 2, pay special attention to root-bound trees. Those circling roots are like a noose around the tree's neck. I've seen pines with roots growing in perfect circles around the trunk—this is called girdling, and it'll strangle your tree if not addressed. Use sterilized pruners to make clean cuts through these roots before transplanting. It's better to trim now than lose the tree later.
Planting Depth: The instructions mention planting with the root ball level with the soil, but here's what nobody tells you—check the graft union if your pine has one. It should be visible above the soil line after planting. If you bury it, the tree will suffocate. I've had to dig up and replant trees because I missed this detail, and it's a pain to fix after the fact.
Watering Wisdom: Those first 3-4 days of watering in Step 4 are critical. I recommend using a soaker hose for the initial watering—it delivers water directly to the roots without disturbing the soil. And here's a pro move: after your first deep watering, add a 2-inch layer of mulch to help retain moisture. Just keep it 6 inches away from the trunk to prevent rot.
Pro Tips for Transplant A Pine Tree
- Took me years of trial and error to perfect—here's how to avoid the mistakes I made that nearly killed my first pine.
- Timing Secret: The 30-minute drainage test in Step 1 is non-negotiable.
- Root Ball Rescue: When you're digging in Step 2, pay special attention to root-bound trees.
Frequently asked questions
Got questions about transplanting a pine tree? You’re not alone—this process can feel tricky! Below, we’ve rounded up the most common concerns and broken them down to save you time, stress, and root damage.
What’s the best time of year to transplant a pine tree?
The ideal window is late fall to early spring (dormant season), when temperatures are cool and rainfall is steady. Avoid extreme heat or frost—both stress the tree. For container-grown pines, spring or fall works too, but act fast after buying to minimize shock.
How do I know if my pine tree is healthy enough to move?
Look for green needles, firm bark, and minimal browning. Avoid transplanting if you see yellowing needles, soft spots, or pest damage. A healthy tree has a root ball at least 12–18 inches wide (for mature trees) and no circling roots—these can strangle growth post-transplant.
Can I transplant a pine tree in summer? What are the risks?
Summer transplants are risky due to heat stress and drought. If you must move a pine in summer, do it early morning or late evening, keep the root ball moist with shade cloth, and water daily for 4–6 weeks. Expect slower recovery—consider waiting for fall.
How do I tell if my transplanted pine tree is struggling?
Watch for needle drop, wilting, or yellowing—signs of shock. Other red flags: cracked soil (drought) or mushy roots (overwatering). If the tree doesn’t regrow needles by next spring, it may need fertilizer (low-nitrogen) or fungicide for root rot.
Are there alternatives if my pine tree is too large to dig up?
Yes! For mature pines (20+ feet tall), try topping (pruning the top) to reduce size, or root pruning a year before moving to encourage smaller roots. Another option: hire a professional with heavy machinery—safety first! For smaller pines, container transplanting is easier.
How long does it take for a pine tree to recover after transplanting?
Recovery varies: 1–2 years for full stabilization. In the first year, focus on deep watering (1–2 inches/week) and mulching (3-inch layer). Avoid fertilizing for 3–6 months—new roots need time to establish without competition. Patience pays off!
Still unsure? Drop your pine-specific questions in the comments—we’re happy to help!
Wrapping up and next steps
Transplanting a pine tree might seem daunting, but with the right timing, tools, and care, you can give it a thriving new home with minimal stress. Remember to choose the ideal season (early spring or fall), dig carefully to preserve roots, and water consistently afterward.
Your patience and preparation will pay off as your pine tree adapts and grows stronger!
Ready to take the next step? Mark your calendar for the best transplanting window in your region and gather your supplies. Happy digging—your pine tree’s fresh start awaits! 🌲✨