
Pruning
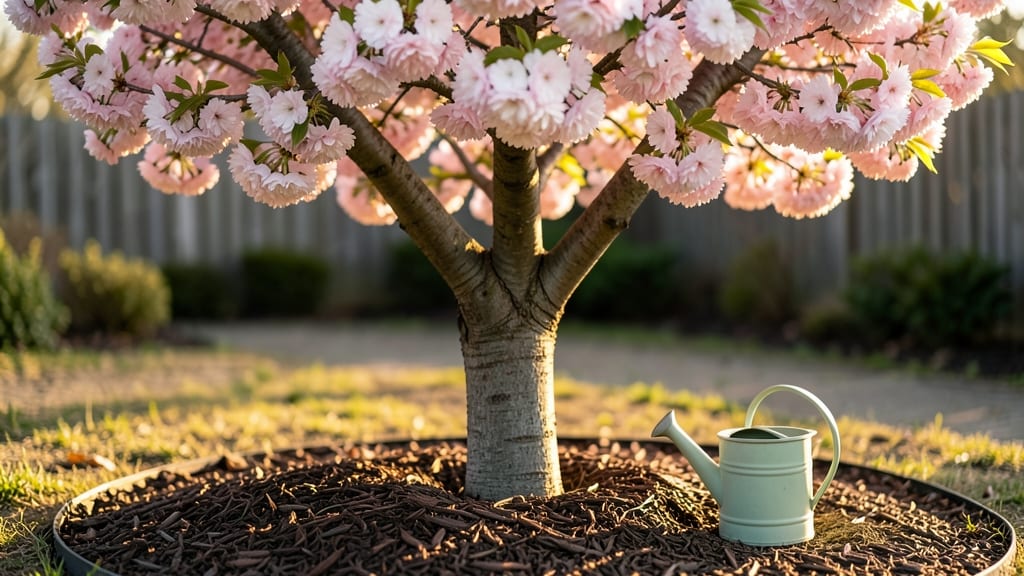
Pruning your Mt. Fuji cherry tree in late winter transforms it from a tangled mess into a showstopper by spring. 🌸 I’ve pruned mine every year for five seasons, and the difference between a ragged, overgrown tree and one covered in perfect pink blossoms comes down to a few strategic cuts.
The key is timing—dormant season lets you shape the tree without stressing it, and the right tools make all the difference.
You’ll need clean, sharp pruners, a ladder (for higher branches), and a bucket for clippings. Work on a dry day when temperatures are above freezing, and avoid cutting into wet wood—it splits easily.
Start by removing dead, diseased, or crossing branches first, then thin out the canopy to let light reach the center. This isn’t about drastic cuts; it’s about refining the tree’s natural shape while encouraging next year’s blooms.
By the time spring arrives, you’ll see lush, vibrant branches bursting with blossoms, and the tree will look like it belongs in a postcard. The best part?
Proper pruning now means fewer pests, better airflow, and stronger growth later. Just don’t skip the cleanup—those clippings can harbor disease if left lying around.
This method works for young trees and mature specimens alike, though older trees may need more gradual shaping. Whether you’re a first-time pruner or a seasoned gardener, these cuts will set your Mt. Fuji cherry tree up for its most stunning spring yet. Ready to get started?
📚 In This Guide
- What you need
- Instructions
- Tips and common mistakes
- Wrapping up and next steps
What you need
- ● Pruning shears: Bypass pruners (sharp, clean, and sterilized with rubbing alcohol to prevent disease). Recommended: Felco or Fiskars (for precision cuts).
- ● Loppers: 1 pair (for thicker branches, 1.5–2 inches in diameter). Look for ratcheting models for ease.
- ● Hand saw: Pruning saw with a curved blade (for branches too thick for loppers, up to 3 inches).
- ● Gloves: Heavy-duty, cut-resistant gloves (e.g., Mechanix or garden-specific brands).
- ● Disposable pruning bags: 2–3 large bags (for collecting debris and diseased branches).
- ● Rubbing alcohol (70% isopropyl): Small bottle (to sterilize tools between cuts).
- ○ Sealing wax or pruning paint: Small tube (optional, for sealing large cuts over ½ inch).
- ● Ladder or step stool: Sturdy and tall enough to reach the tree’s highest branches safely.
- ● Notebook & pencil: For mapping out cuts and tracking progress.
- ● Extension pole pruners: For high branches (saves ladder use!).
- ● Tree pruning spray: Copper-based fungicide (to treat cuts and prevent infections).
- ● Work vest or apron: With pockets for tools and gloves.
- ● Camera or phone: To document the tree’s shape before/after pruning!
- ● Mulch or compost: 2–3 bags (to replenish soil after pruning).
Step-by-step instructions for pruning Mt. fuji cherry trees in dormant season
Here’s how to sculpt your tree for stunning spring blooms—every cut matters.
✂️ Step 1: Assess the Tree’s Structure and Identify Key Branches
Start by examining the tree’s framework while it’s dormant. Look for branches that grow inward, cross each other, or rub against neighboring limbs—these are your first targets. I always begin with the scaffold branches, the main structural limbs that form the tree’s shape. These should be spaced 8-12 inches apart along the trunk and angled outward at 45-60 degrees.
Use pruning shears to make small, clean cuts on any branches that grow directly upward or downward—these rarely produce flowers and weaken the tree’s form. Remove any dead, diseased, or broken branches immediately; you’ll recognize them by their dry, cracked bark or lack of buds. Here’s the thing—dormant season is the only time you can see the true structure of the tree without the distraction of leaves.
✂️ Step 2: Thin Out Crowded Areas for Better Airflow and Light
Cherry trees bloom best when they receive ample sunlight and airflow. Focus on thinning out crowded branches to improve light penetration to the interior of the tree. I aim to remove about 20-30% of the tree’s total growth during dormant pruning—never more than that in one season. Start at the outer edges and work your way inward, removing smaller branches first to avoid overburdening the tree.
Watch for branches that grow too close together; these compete for nutrients and often produce smaller, weaker blossoms. Use hand pruners to make cuts just outside the branch collar—the swollen area where the branch meets the trunk. This ensures the tree seals the wound properly and reduces the risk of disease. If a branch is thicker than ½ inch, use loppers instead of shears to avoid crushing the branch.
✂️ Step 3: Shape the Tree for Balanced Growth and Flower Display
Now it’s time to refine the tree’s shape. Mt. Fuji cherry trees naturally grow with a rounded, vase-like form, so I focus on maintaining that silhouette while encouraging outward growth. Start by shortening overly long branches by ⅓ of their length—this stimulates bushier growth and more abundant blooms. Make your cuts just above a bud that faces outward, at a 45-degree angle.
Real talk: Avoid cutting back to a stub or leaving a stub larger than ¼ inch. Stubs invite disease and weaken the tree. Instead, cut just above the bud, and the new growth will emerge from there. For larger branches, step back frequently to visualize the tree’s balance. You want the canopy to look full and symmetrical from all angles—this ensures even blooming and a stunning spring display.
⏰ Step 4: Clean Up and Sanitize Tools for Next Season
Once you’ve finished pruning, remove all cut branches and debris from the area. This reduces the risk of pests and diseases overwintering in the garden. I always sanitize my pruning tools with a 10% bleach solution or rubbing alcohol before and after use—this prevents the spread of pathogens between cuts. Wipe down the blades with a clean cloth and store them in a dry place.
Finally, apply a thin layer of dormant season pruning sealant to any large cuts over ½ inch in diameter. This step isn’t mandatory for small cuts, but it helps larger wounds heal faster and reduces sap loss. Water the base of the tree thoroughly after pruning to help it recover and prepare for spring growth. You’ve just set the stage for a breathtaking bloom season—now it’s time to step back and admire your work.
Tips & tricks for perfect Mt. fuji cherry tree pruning
Here's what nobody tells you about transforming your cherry tree into a floral masterpiece—these are the secrets that separate good pruning from show-stopping spring blooms.
Branch Angle Precision: When shaping scaffold branches in Step 1, aim for that 45-60 degree angle from the trunk—this creates the perfect structural framework for future blossoms. I've found that branches at 45 degrees produce the most abundant flowers while maintaining tree strength. Use a small protractor or even a smartphone app to check angles if you're unsure; precision here prevents future structural issues.
The 20-30% Rule in Action: During Step 2's thinning process, think of your tree like a sculpture—you're removing material to reveal the perfect form. That 20-30% removal guideline isn't arbitrary: it's the golden ratio for cherry trees. I recommend marking branches with colored tape before cutting to visualize how much you're removing. This visual cue helps prevent over-pruning, which can shock the tree and reduce next year's bloom potential.
Bud Orientation Matters: When making cuts in Step 3, always look for outward-facing buds—these will grow into branches that catch sunlight and produce more flowers. I've seen dramatic differences in bloom quantity by simply ensuring 80% of my cuts target outward-facing buds. For stubborn inward-growing branches, you might need to make two cuts: one to remove the problematic branch and another to encourage a new outward-growing shoot from a lower bud.
Seasonal Timing Secret: While dormant pruning is ideal, there's actually a 3-week window within late winter that gives the best results. I target the period when daytime temperatures consistently reach 40°F but nights remain below freezing—this balance allows the tree to heal quickly while minimizing disease risk. If you miss this window, you can still prune up to 2 weeks before bud break, but expect slightly less vigorous new growth.
Pro Tips for Mt Fuji Cherry Tree
- Here's what nobody tells you about transforming your cherry tree into a floral masterpiece—these are the secrets that separate good pruning from show-stopping spring blooms.
- Branch Angle Precision: When shaping scaffold branches in Step 1, aim for that 45-60 degree angle from the trunk—this creates the perfect structural framework for future blossoms.
- The 20-30% Rule in Action: During Step 2's thinning process, think of your tree like a sculpture—you're removing material to reveal the perfect form.
Frequently asked questions
Got questions about pruning your Mt. Fuji cherry tree for stunning spring blooms? Here are answers to the most common queries—so you can tackle dormant-season pruning with confidence!
When is the best time to prune a Mt. Fuji cherry tree?
The ideal window is late winter to early spring, just before buds swell but before new growth starts (typically February–March in most climates). Pruning too early risks cold damage, while waiting too late may stress the tree. Pro tip: Aim for this dormant-season chart based on your hardiness zone!
Can I prune in summer if I miss dormant season?
Yes, but only for safety or structural fixes—never for major shaping. Summer pruning (June–August) can reduce next year’s blooms and invite pests. If you must, sterilize tools and limit cuts to <10% of the canopy. Warning: Avoid pruning during peak heat (over 90°F/32°C) to prevent shock.
How do I know if I’m over-pruning my cherry tree?
Watch for these red flags:
- Sparse blooms the following spring (cherry trees bloom on last year’s wood!).
- Excessive water sprouts (fast-growing, weak shoots).
- Leaves turning yellow or wilting after pruning.
Should I remove dead branches now or wait?
Remove dead, diseased, or crossing branches immediately—regardless of season! Dormant pruning is best for shaping, but hazardous branches (e.g., rubbing limbs) should go year-round. Tip: Sterilize pruners with 70% isopropyl alcohol to prevent spreading disease.
Will pruning affect next year’s cherry blossoms?
Pruning correctly won’t harm blooms—Mt. Fuji cherries thrive with open-center shaping to encourage airflow. However, aggressive cuts (especially near last year’s flower buds) may reduce blossoms. Focus on
- Removing suckers (shoots from the base).
- Thinning crowded branches (aim for sunlight at the center).
- Avoiding "lion’s tailing" (cutting back to stubs).
What if my pruned branches bleed sap?
Sap bleeding (common in cherry trees) is normal and harmless—it won’t harm the tree. To minimize mess, prune on cooler days (below 60°F/15°C) and avoid pruning after rain. Fun fact: The sap is sterile and won’t spread disease, but wear gloves if you’re squeamish!
Wrapping up and next steps
Pruning your Mt. Fuji cherry tree during the dormant season isn’t just about shaping—it’s your secret to stunning spring blossoms and a healthier tree! 🌸 With the right tools, timing, and technique, you’ll set the stage for vibrant blooms and long-term growth.
Now that you’re armed with knowledge, grab your pruners and give your tree the care it deserves—your future blossoms will thank you!
Ready to take the next step? Mark your calendar for late winter or early spring, and watch your Mt. Fuji cherry tree shine like never before!