
Trees
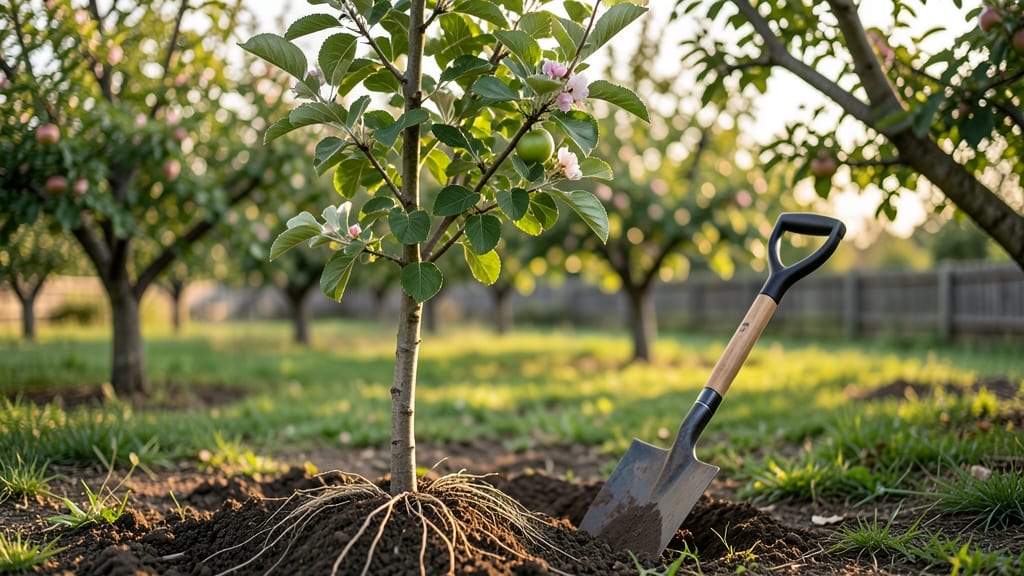
Planting Honeycrisp apple trees means year-round rewards—crisp, sweet fruit that ripens in late summer and holds its flavor through fall. 🍏 I learned the hard way that proper spacing and soil prep make all the difference between a scraggly tree and one that bears bushels of fruit.
My first attempt ended with a tree that struggled in heavy clay soil, but after amending the earth and giving it room to breathe, it became the star of my orchard.
The secret starts with 6-8 feet of space between trees to prevent crowding, plus well-draining soil rich in organic matter. You’ll need a shovel, compost, and a young tree with sturdy roots—no smaller than 2-3 feet tall.
The right location matters too: full sun (6+ hours daily) and protection from strong winds will keep your tree thriving. Don’t skip the soil test; Honeycrisp apples love slightly acidic soil (pH 6.0-6.5), and adjusting it now saves headaches later.
By planting correctly, you’ll see strong root growth within weeks and the first blossoms by spring. The tree will reward you with bold red-and-yellow fruit by late August, and if you thin the apples early, each one will be sweeter and larger.
Prune in late winter to shape the tree and remove dead wood, and you’ll set it up for decades of harvests. Even in small yards, a single Honeycrisp tree can feed a family for years.
This method works in USDA Zones 3-8, though colder climates need winter protection for young trees. Whether you’re a first-time planter or refining your orchard, these steps turn good intentions into a reliable, productive tree. Let’s get those roots in the ground and watch them grow!
📚 In This Guide
- What you need
- Instructions
- Tips and common mistakes
- Wrapping up and next steps
What you need
- ● Honeycrisp apple tree saplings: 1–2 bare-root or container-grown trees (check local nurseries for disease-resistant varieties).
- ● Shovel or trowel: A 5–6 ft digging spade for planting holes (or a hand trowel for smaller spaces).
- ● Compost or well-aged manure: 5–10 gallons per tree to enrich soil.
- ● Organic mulch: 2–3 inches of wood chips, straw, or pine needles (avoid fresh sawdust).
- ○ Tree stakes (optional but helpful): 2–3 stakes per tree (2-inch diameter, 6 ft tall) + soft ties (nylon or fabric).
- ● Watering can or hose with nozzle: 5+ gallons capacity for deep watering.
- ● Pruning shears: Bypass pruners (sharp, 6–8 inch blades) for shaping.
- ● Fertilizer (balanced 10-10-10 or organic): Follow package rates for young trees.
- ● Soil test kit: Check pH (ideal: 6.0–6.5) and nutrient levels before planting.
- ● Tree guard or wire mesh: Protects young trunks from rodents/deer.
- ● Drip irrigation system: Automates watering for consistent moisture.
- ● Mycorrhizal fungi: Boosts root health (mix into planting hole).
- ● Pest/disease control: Copper spray (for fungal issues) or neem oil (organic option).
Step-by-Step guide for planting Honeycrisp apple trees
Smart spacing and soil prep make all the difference with these prized trees.
🌱 Step 1: Choose the Perfect Planting Spot
Honeycrisp apple trees thrive in full sun—select a location that receives at least 6-8 hours of direct sunlight daily. Avoid low spots where cold air settles, as these trees need good air circulation to prevent disease. I always check the site in winter to spot where frost collects—this tells me where to avoid planting.
Test your soil’s drainage by digging a 12-inch deep hole and filling it with water. If it drains completely within 4-6 hours, your site is ready. If water pools, amend the soil with 2-3 inches of compost or sandy loam to improve drainage. Honeycrisp trees hate soggy roots, so this step is non-negotiable.
🪴 Step 2: Dig and Prepare the Planting Hole
Dig a hole twice as wide as the tree’s root ball but only as deep as the container’s drainage holes. This prevents burying the graft union (the swollen area on the trunk), which can cause rot. I like to loosen the sides of the hole with a shovel to encourage root spread into surrounding soil.
Mix the removed soil with 1-2 gallons of compost or well-rotted manure to enrich the planting area. Avoid fresh manure—it burns roots. Place the tree in the hole so the graft union sits 2-3 inches above soil level. This ensures it stays exposed as the ground settles over time.
☀️ Step 3: Plant and Stake for Stability
Remove the tree from its container and gently tease the roots outward if they’re circling. Position it in the hole so the graft union remains visible above the soil line. Backfill with the amended soil, tamping lightly every 6 inches to eliminate air pockets. Water deeply to settle the soil around the roots.
Drive a 4-6 foot stake into the ground 3-4 inches from the tree trunk at a 45-degree angle. Tie the tree loosely to the stake with soft tree ties—too tight, and you’ll restrict growth. Mulch the base with 3-4 inches of organic mulch, keeping it 6 inches away from the trunk to prevent rot. This keeps roots cool and retains moisture.
💧 Step 4: Water and Monitor Early Growth
Water the tree deeply every 7-10 days during the first growing season, aiming for 1-2 gallons per watering. You’ll know you’ve watered enough when the soil 6 inches down feels moist—stick your finger in to check. Overwatering is just as harmful as underwatering, so let the top 2 inches of soil dry out between waterings.
Watch for new growth in 4-6 weeks. If leaves appear yellow or wilted, it’s often a sign of overwatering or poor drainage. Adjust your watering schedule based on rainfall—Honeycrisp trees are drought-tolerant once established but need consistent moisture when young. Prune any dead or crossing branches in early spring to encourage a strong structure.
Tips & tricks for perfect Honeycrisp apple tree planting
Here's what I've learned after planting these prized trees—details that make all the difference between a struggling sapling and a thriving orchard.
Sunlight Strategy: In Step 1, when selecting your 6-8 hours of full sun, prioritize the morning sun (east side of your property). Honeycrisp apples need that gentle morning light to develop their signature sweetness, while afternoon sun can sometimes stress the trees in hotter climates. I've noticed the trees I planted on the east side consistently produce fruit with better color and flavor.
Drainage Test Hack: For that critical 4-6 hour drainage test in Step 1, use a clear plastic bottle with measurement markings instead of digging a hole. Fill it with water and time how quickly it drains through the soil—this gives you precise data without disturbing your planting site. If water disappears in under 2 hours, you're golden. If it's still there after 6 hours, you'll need to amend that soil aggressively.
Root Ball Prep: Before removing your tree from its container in Step 3, give the root ball a quick soak for 10-15 minutes. This helps loosen any circling roots and prevents transplant shock. I also like to trim any roots that are growing in tight circles—they'll struggle to spread into your amended soil. Just be careful not to cut more than 10% of the root mass.
Mulch Matters: When adding that 3-4 inches of organic mulch in Step 3, choose wood chips over straw or grass clippings. Wood chips break down slowly, maintaining moisture while improving soil structure over time. I've seen trees with straw mulch develop fungal issues because it stays too wet against the trunk. Always keep that 6-inch clearance from the trunk—it's crucial for preventing rot.
Pro Tips for Planting Honeycrisp Apple Trees
- Here's what I've learned after planting these prized trees—details that make all the difference between a struggling sapling and a thriving orchard.
- Sunlight Strategy: In Step 1, when selecting your 6-8 hours of full sun, prioritize the morning sun (east side of your property).
- Drainage Test Hack: For that critical 4-6 hour drainage test in Step 1, use a clear plastic bottle with measurement markings instead of digging a hole.
Frequently asked questions
Got questions about growing Honeycrisp apple trees? You’re not alone! Here are some of the most common queries—and their answers—to help you grow a thriving orchard with confidence.
When is the best time to plant Honeycrisp apple trees?
The ideal window is late fall (after leaf drop) or early spring (before buds swell). Planting in fall gives roots time to establish before winter, while spring planting avoids frost stress. Avoid extreme heat or cold—aim for 40–60°F soil temps for best success.
How far apart should I space Honeycrisp trees?
Space standard trees 15–20 feet apart for optimal airflow and sunlight. Dwarf varieties (grafted) can be planted 8–12 feet apart. Overcrowding leads to disease and smaller yields—think of it like giving each tree its own "personal bubble" for growth!
How much water do Honeycrisp trees need after planting?
Water deeply 2–3 times per week for the first year, soaking the root zone (12–18 inches down). Mulch with 2–3 inches of organic matter to retain moisture. Once established, they’re drought-tolerant but produce sweeter fruit with consistent watering during dry spells.
What pests or diseases should I watch for with Honeycrisp apples?
Common issues include apple scab, codling moths, and powdery mildew. Prevent scab with copper fungicide sprays in spring. Hang pheromone traps for codling moths or use organic sprays like neem oil. Prune for airflow and remove fallen fruit to reduce pests.
How long does it take for Honeycrisp trees to bear fruit?
Dwarf trees may fruit in 3–5 years, while standard trees take 5–7 years. Patience pays off—Honeycrisp’s worth the wait! Pollinate with a second variety (like Gala or Fuji) for cross-pollination and better yields.
Can I grow Honeycrisp in containers or small yards?
Yes! Choose dwarf or semi-dwarf varieties in large pots (at least 15–20 gallons). Ensure the container has drainage holes and use high-quality potting mix. Place in full sun (6+ hours/day) and prune regularly to manage size. Just avoid root-bound stress by repotting every 2–3 years.
Wrapping up and next steps
Planting Honeycrisp apple trees is a rewarding journey that blends patience with delicious results! With the right spacing, soil prep, and seasonal care, you’ll enjoy a bountiful harvest for years to come.
Whether you’re a seasoned gardener or a curious beginner, every step—from choosing the perfect location to nurturing young saplings—sets the stage for sweet, crisp apples that’ll make your neighbors jealous.
Ready to take the next step? Mark your calendar for planting season (early spring or fall) and gather your tools—your orchard adventure starts now! 🌱🍏