
Pruning
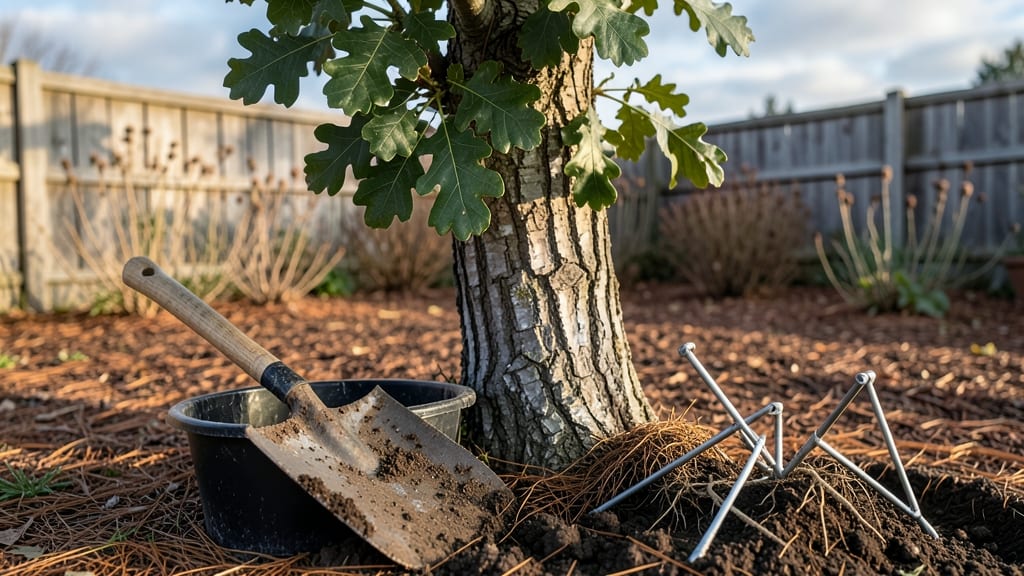
Removing and replanting a tree isn't just about digging—it's about giving your new tree a fighting chance to thrive. 🌳 I’ve learned the hard way that rushing this process leads to weak roots, stunted growth, or even death within a year.
The key lies in protecting those delicate roots during removal and planting them in soil that mimics their natural habitat.
You’ll need basic tools—a sharp shovel, root pruners, a wheelbarrow, and gloves—but the real work happens in the soil prep. Loosen the ground 12-18 inches deep and wide enough to accommodate the root ball, then mix in compost for nutrients.
Season matters too: fall or early spring gives roots time to establish before extreme heat or cold hits.
What you’ll end up with is a tree that stands strong, not one that struggles to survive. The roots will spread confidently into the prepared soil, and with proper staking and watering, you’ll see new growth within 6-8 weeks.
No more guessing—just a healthy, resilient tree that becomes part of your landscape for decades.
This method works for fruit trees, shade trees, or even ornamental varieties. Whether you’re replacing a dead tree or adding a new focal point, these steps ensure your investment grows into something beautiful. Let’s get those roots settled right.
📚 In This Guide
- What you need
- Instructions
- Tips and common mistakes
- Wrapping up and next steps
What you need
- ● Safety gear: Heavy-duty work gloves (2 pairs)
- ● Safety goggles (rated for impact)
- ● Ear protection (if using loud equipment)
- ● Steel-toe or composite-toe boots
- ● Tree removal tools: Hand saw (pruning saw, 16–20 inches)
- ● Chainsaw (if tree is large; 14–18 inches bar)
- ● Digging & replanting supplies: Shovel (round-point or digging shovel)
- ● Machete or pruning shears (for clearing roots)
- ● Wheelbarrow (for transporting soil/roots)
- ● Burlap or tree root bag (if replanting)
- ● Support materials: Stakes (3–4, 4–6 feet long) + tree ties
- ● Mulch (3–4 inches of organic material)
- ● Tree root stimulator (to encourage regrowth)
- ● Post-hole digger (for stubborn roots)
- ● Winch or rope (for large trees; ½-inch diameter)
- ● Soil pH test kit (to check replanting conditions)
How to remove and replant trees without damaging roots
Here’s the method I’ve used to transplant mature trees—no root shock, no lost plants.
🪴 Step 1: Prepare the New Planting Site
Dig the new hole twice as wide as the tree’s root ball but only as deep as the root system—not deeper. Loosen the native soil at the bottom with a shovel or fork to prevent compaction. The goal is to create a soft, airy bed where roots can spread immediately.
I always test the soil’s drainage by filling the hole with water and waiting to see how quickly it drains. If it pools for more than 30 minutes, amend the bottom with 1-2 inches of coarse sand or gravel to improve drainage. A soggy hole will suffocate roots before they even start growing.
🌱 Step 2: Carefully Remove the Tree from Its Current Location
Mark the tree’s drip line with stakes to guide the root ball’s size. Using a sharp spade or transplanting saw, cut a clean circle around the trunk, 8-12 inches from the stem, to avoid severing major roots. Work slowly—rushing here will tear roots and stress the tree.
Once the roots are exposed, wrap the root ball in burlap or landscape fabric to protect it as you lift. If the tree is large, rent a tree spade or dig a trench around the root ball to lift it intact. Never drag the tree by the trunk—this severs roots and guarantees transplant shock.
💧 Step 3: Replant with Root Support and Hydration
Lower the tree into the prepared hole, ensuring the top of the root ball sits 1-2 inches above ground level. This prevents soil from settling and burying the trunk later. Backfill with the native soil you removed, tamping lightly every 6 inches to eliminate air pockets.
Water deeply immediately after planting to settle the soil and remove air gaps. I like to use a hose on a gentle setting for 15-20 minutes to ensure moisture reaches all roots. Mulch the base with 2-3 inches of organic mulch, keeping it 6 inches away from the trunk to prevent rot.
☀️ Step 4: Provide Post-Transplant Care for Survival
The first 2-3 weeks are critical. Monitor the soil moisture daily—it should stay consistently damp but never soggy. A tree that wilts or droops after replanting needs immediate water. Stake the tree only if necessary, using soft ties to avoid girdling the trunk.
Real talk: Don’t fertilize right away. New roots are fragile, and fertilizer burns will stress the tree further. Wait 6-8 weeks before applying a balanced, slow-release fertilizer. Prune only dead or damaged branches—never remove more than 25% of the canopy in the first year.
Tips & tricks for perfect tree transplanting
A few key insights that'll help your transplanted trees thrive—without the stress or guesswork.
Soil Prep is Everything: In Step 1, when testing drainage by filling the hole with water, I recommend adding a layer of perforated landscape fabric over the amended sand or gravel. This keeps the drainage layer intact while allowing roots to penetrate. The 30-minute drainage test is critical—roots need oxygen, not waterlogged conditions. If your soil drains faster than 30 minutes, you're actually creating a risk for drought stress.
Root Ball Protection: For Step 2, when wrapping the root ball, use burlap or landscape fabric with holes—never plastic wrap. Plastic suffocates roots and traps moisture. I've seen roots actually rot when wrapped in plastic during transport. If you're moving a large tree, consider using a root ball cage to maintain the structure during lifting. This prevents root tearing when you're digging that 8-12 inch clean circle.
Watering Wisdom: The 15-20 minute deep watering in Step 3 should be done immediately after planting, then repeated every 2-3 days for the first 2-3 weeks. Use a soaker hose placed at the edge of the root ball for even moisture distribution. I've learned the hard way that surface watering creates shallow roots—always water deeply to encourage deep root growth.
Mulching Matters: That 2-3 inch organic mulch layer in Step 3 should be spread in a donut shape, keeping it 6 inches away from the trunk. This prevents moisture buildup against the bark which can cause rot. I've seen many transplants fail because people piled mulch right against the trunk. Use wood chips or straw—they break down slowly and improve soil structure over time.
Pro Tips for Removing And Replanting A Tree
- A few key insights that'll help your transplanted trees thrive—without the stress or guesswork.
- Soil Prep is Everything: In Step 1, when testing drainage by filling the hole with water, I recommend adding a layer ...
- Root Ball Protection: For Step 2, when wrapping the root ball, use burlap or landscape fabric with holes—never plasti...
Frequently asked questions
Got questions about removing and replanting trees? You’re not alone! Here are some of the most common concerns—plus clear, actionable answers to keep your project on track.
When is the best time of year to replant a tree?
The ideal window is late fall to early spring (dormant season). This minimizes stress on roots and allows them to establish before summer heat. Avoid replanting in extreme temperatures—roots need time to recover!
What if my tree’s roots look damaged after digging?
Don’t panic! Prune any broken or mushy roots with clean shears, then soak the root ball in water for 1–2 hours before replanting. Healthy roots should be firm and white—discard any black or rotting sections. Pro tip: Add mycorrhizal fungi to the hole to boost root growth!
Is it cheaper to replant myself or hire a pro?
DIY saves money (<$50–$100 for tools), but pros charge $300–$1,000+ for heavy machinery and expertise. If the tree is large or near structures, hiring an arborist reduces risks (like root damage or property harm). Weigh the tree’s size, your skill level, and local regulations.
Can I replant a tree in the same spot after removing it?
Only if the soil is healthy and undisturbed! Digging disrupts roots and compacts soil. If replanting in the same hole, amend the soil with compost and loosen the bottom 12 inches. For better results, move the tree 3–6 feet away to avoid root competition with the old growth.
What do I do if the tree wilts or drops leaves after replanting?
Wilting often signals transplant shock—water deeply (1–2 inches) daily for 2 weeks, then taper to 1 inch weekly. Mulch the base (3–4 inches deep) to retain moisture. If leaves yellow or crisp, check for overwatering or root suffocation (ensure the hole drains well!).
Wrapping up and next steps
Removing and replanting a tree can feel like a big challenge, but with the right tools, patience, and care, you’ve got this! 🌳 Whether you’re making space for new growth or relocating a beloved tree, every step—from pruning to soil prep—sets the stage for a thriving future.
Now that you’re armed with knowledge, take that next step: mark your calendar for a weekend project, gather your team (or just grab your gloves!), and watch your green companion flourish in its new home.
Need extra confidence? Start small—practice on a younger tree or consult a local arborist for personalized advice. Happy planting! 🌱