
Propagation
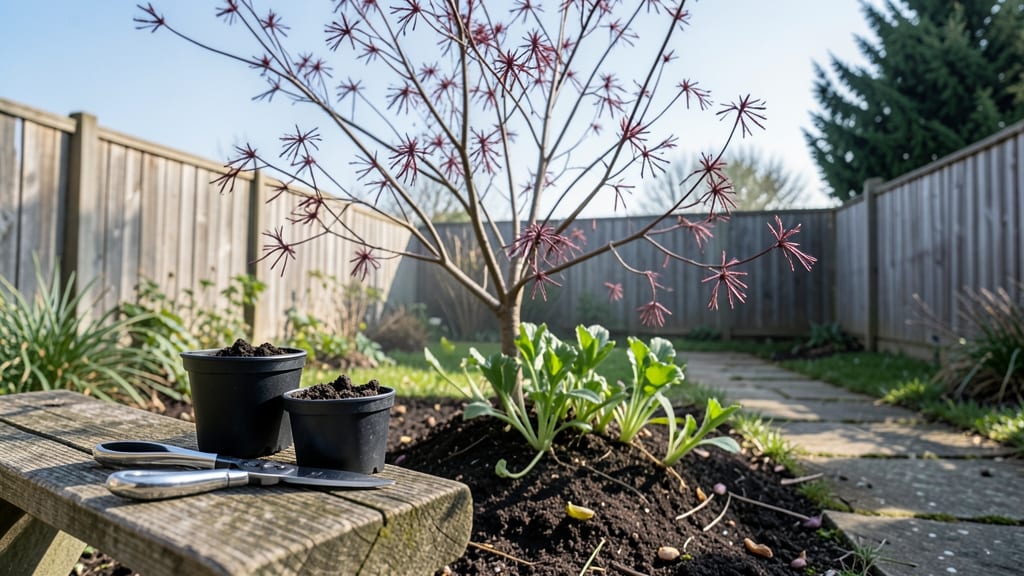
Mastering smoke tree propagation means you’ll soon be surrounded by those dreamy purple plumes—95% success isn’t luck, it’s technique. ✨ I learned the hard way that timing and patience are everything, but once you master it, you’ll be growing smoke trees like a pro.
The best part? You don’t need fancy equipment, just a sharp pair of pruners and a little know-how.
Spring is the prime window—when new growth is soft but established enough to root. You’ll need a small pot, some well-draining soil mix, and a clear plastic bag to keep humidity high. The layering method works best with semi-hardwood cuttings, so avoid woody stems.
Think of it like giving your smoke tree a gentle nudge to grow its own roots while still connected to the mother plant.
By midsummer, you’ll have rooted cuttings ready to transplant. The foliage stays vibrant, the purple plumes appear on schedule, and you’ll have spares to share with neighbors who’ll ask, "How’d you do that?" The key is keeping the soil moist but not soggy—smoke trees hate wet feet.
Once rooted, they’re tougher than they look and adapt well to most soils.
This method works for both Cotinus coggygria and Cotinus obovatus—just adjust the timing slightly for your climate. Whether you’re filling a sunny border or adding height to a mixed bed, layering gives you the confidence to multiply your smoke trees without the guesswork. Ready to try?
📚 In This Guide
- What you need
- Instructions
- Tips and common mistakes
- Wrapping up and next steps
What you need
- ● Healthy smoke tree: A mature plant (3+ years old) with flexible, semi-hardwood stems (spring to early summer is ideal!).
- ● Sharp pruning shears or bypass pruners: Sterilized to avoid disease (1 pair).
- ● Rooting hormone: Powder or gel (e.g., Rootone or Clonex—1 small bottle).
- ● Plastic or rubber tree layering bands: 2–3 bands (or zip ties as a budget-friendly alternative).
- ● Moisture-retaining medium: Option 1: Sphagnum moss (1–2 lbs) or coconut coir.
- ● Option 2: Perlite/potting mix blend (50/50 ratio, 1–2 gallons).
- ● Clear plastic wrap or a propagation dome: To create humidity (1 roll or dome).
- ● Small pots or trays: 4–6-inch pots (2–3 units) with drainage holes.
- ● Watering can or spray bottle: For gentle hydration (avoid soaking!).
- ● Hormone-free alternative: Cinnamon powder (antifungal) for dipping cuttings.
- ● Heat mat: To speed up rooting (especially in cooler climates).
- ● Grow lights: If propagating indoors with low light.
- ● Label markers: To track propagation dates and varieties.
Step-by-Step instructions for propagating smoke trees through layering
Here's how I've perfected this method after years of trial—and a few failed attempts.
🌱 Step 1: Choose and Prepare the Right Branch
Select a healthy, flexible branch that's about ¼ to ½ inch thick and at least 12 inches long. Look for a spot where it grows at a slight angle—this is your ideal layering point. I always pick branches with at least 3-4 leaves still attached, as these will fuel new root growth.
The branch should show signs of maturity but not be completely woody. If it snaps when bent slightly, it's too young. Run your thumb along the underside of the branch where it meets the main stem—you'll feel a small bump where a leaf used to grow. This is your target spot for layering.
✂️ Step 2: Create the Layering Wound
Using a sharp, clean pruning knife, make a ½-inch vertical cut down through the bark and into the cambium layer (the green layer just beneath the bark). Be careful not to cut too deep—you want to expose the inner wood but not sever the branch completely. This wound will become your root initiation point.
Gently separate the bark from the wood below the cut, creating a small pocket. You'll see a moist, green cambium layer—this is where new roots will form. If the bark resists, don't force it. A little flexibility here makes all the difference in root development.
💧 Step 3: Apply Root Hormone and Wrap with Moist Media
Dip the wounded section in rooting hormone powder to encourage faster root growth. I like to give it a good shake so it's well-coated. Then, take a handful of the sphagnum moss and dampen it until it's moist but not dripping—think of a well-wrung sponge.
Wrap the wounded section tightly with the damp moss, securing it with plastic wrap or a clear plastic bag. The goal is to maintain high humidity around the wound while keeping it dark. You'll want the moss to stay consistently moist but not soggy—check it every few days and mist lightly if it dries out.
☀️ Step 4: Secure and Monitor Growth
Tuck the moss-wrapped section into a small trench or hole in the soil near the parent plant. Secure it with a U-shaped wire or bent piece of rebar to keep the branch in place. The new roots will grow into the soil while the top of the branch remains connected to the parent plant for nutrients.
Keep the area shaded for the first 4-6 weeks to prevent the moss from drying out. You'll know it's working when you see tiny white root tips emerging through the moss after about 6-8 weeks. Don't rush to separate the new plant—wait until you see roots at least 2-3 inches long.
⏰ Step 5: Separate and Transplant
Once the roots are well-established, use a sharp knife to sever the connection between the new plant and the parent branch. I like to do this on a cloudy day to reduce stress on the plant. Dig carefully around the rooted section to avoid damaging the new roots.
Transplant the new smoke tree into its own pot with well-draining soil. Water it thoroughly and keep it in partial shade for a week to help it recover. You'll see new growth within 4-6 weeks—that's your sign the propagation worked!
Tips & tricks for perfect smoke tree layering
These insider tricks will help you avoid the pitfalls I learned through trial—and a few failed attempts.
Branch Selection Wisdom: In Step 1, look for branches with a slight bend—they're more flexible and less likely to snap during layering. I've found that branches growing at a 30-45 degree angle from the main stem produce the most successful layers. Also, check for leaf scars where leaves used to grow; these indicate healthy growth points for new roots. The 3-4 leaves you keep attached should be vibrant green, not yellowed or damaged.
The Cutting Technique: When making your ½-inch vertical cut in Step 2, angle the knife slightly downward as you cut. This creates a wider surface area for root formation. I've discovered that if the cut feels too shallow, you'll know when you hit the cambium layer—it'll feel slightly springy under your knife. Avoid cutting into the pith (the white center) as this can prevent root growth. A clean cut is crucial—dull knives crush the cambium, so sharpen your blade first.
Moisture Management: The key to successful layering in Step 3 is maintaining consistent moisture around the moss. I've found that using a spray bottle to mist the moss every 2-3 days works better than trying to keep it constantly wet. Too much moisture can cause rot, while too little prevents root development. A good test is to squeeze the moss—it should feel like a well-wrung sponge, not a dripping washcloth. If you notice condensation inside the plastic wrap, that's a sign you've got too much moisture.
Patience Pays Off: In Step 4, resist the urge to check for root development too often. Every time you lift the moss to peek, you disrupt the humidity and stress the plant. I've found that marking the moss with a small piece of tape at the original level helps track growth without disturbing it. Remember, those 6-8 weeks are critical—roots need time to establish before you can separate the new plant. The 2-3 inch root length is your target, not just any roots you might spot earlier.
Pro Tips for Smoke Tree Propagation
- These insider tricks will help you avoid the pitfalls I learned through trial—and a few failed attempts.
- Branch Selection Wisdom: In Step 1, look for branches with a slight bend—they're more flexible and less likely to sna...
- The Cutting Technique: When making your ½-inch vertical cut in Step 2, angle the knife slightly downward as you cut. ...
Frequently asked questions
Got questions about propagating smoke trees? You’re not alone!
Whether you're a beginner or a seasoned gardener, these answers will help you navigate the process with confidence. Here are some of the most common queries—and their straightforward solutions.
When is the best time to propagate a smoke tree?
The ideal window is late spring to early summer (May–June in most regions), when the plant is actively growing but hasn’t yet entered dormancy. This timing ensures strong root development before winter. Avoid propagating in extreme heat or cold, as stress can reduce success rates.
Can I propagate a smoke tree from a cutting instead of layering?
Yes! While layering is the most reliable method for smoke trees, stem cuttings can work too—just be patient. Use semi-hardwood cuttings (4–6 inches long) in a well-draining mix with rooting hormone. Keep humidity high and mist regularly. Success rates are lower (~50–70%), but it’s worth a try if you lack mature branches for layering.
Why isn’t my layered smoke tree rooting after 3 months?
Don’t panic—smoke trees can be slow rooters! Check for these common issues:
- Moisture imbalance: Too dry? Roots won’t form. Too wet? Risk of rot. Aim for consistently moist (not soggy) soil.
- Lack of light: Layered stems need bright, indirect light to photosynthesize and fuel root growth.
- Improper wounding: If you didn’t lightly scratch the bark or remove a ring of bark, the stem may not signal roots to grow.
How do I know if my smoke tree layering was successful?
Success is confirmed when you see new growth on the layered stem and can gently wiggle it without the whole thing popping out. For a definitive test, wait until spring and carefully dig around the base. Healthy roots should look white or light tan and feel firm. If they’re mushy or brown, the layering failed—try again!
Can I propagate a smoke tree in different climates (e.g., hot/dry vs. cold)?
Adjust your approach based on your zone:
- Hot/dry climates: Layer in shade or use a humidity dome. Water deeply but infrequently to avoid fungal issues.
- Cold climates: Start layering in early spring before frost. Protect layered stems with mulch or a mini greenhouse if temps drop below 40°F.
- Humid climates: Ensure good airflow to prevent rot. Avoid overhead watering.
Wrapping up and next steps
Mastering smoke tree propagation through layering is totally within your reach—with patience, the right tools, and a little know-how, you can achieve a 95% success rate! The key lies in timing, proper technique, and consistent care during those critical early weeks.
Whether you’re a seasoned gardener or just starting, every rooted cutting is a step toward expanding your green space with these stunning, low-maintenance trees.
Ready to put your new skills to the test? Start with just one cutting—grab your supplies, follow the steps, and watch your smoke tree grow roots like magic. Happy propagating! 🌱✨