
Pruning
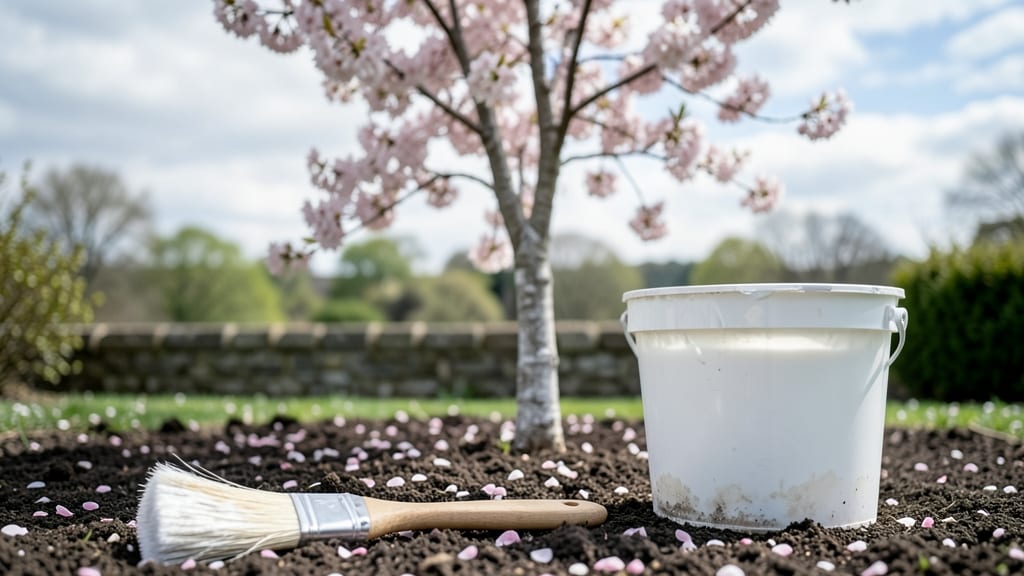
Whitewashing tree trunks saves them from sunburn, pests, and winter damage—something I learned the hard way after my young oak developed ugly patches from harsh afternoon sun. The trick isn’t just slapping on paint; it’s creating a breathable barrier that protects without smothering the bark.
Most people skip this step until they see the telltale signs: cracked bark, insect tunnels, or that dull, lifeless look from too much sun exposure.
You’ll need just a few simple supplies: a 5-gallon bucket, a stirring stick, hydrated lime or a commercial whitewash mix, and a wide paintbrush or sprayer. The mixture should be thick enough to cling but thin enough to spread evenly—think of it like a light, chalky milkshake.
Apply it on calm days when temperatures stay above 50°F, and avoid treating trees during active pest seasons unless you’re targeting specific problems.
What you’ll end up with is bark that stays cooler in summer, resists sunscald, and deters pests like borers and bark beetles. The whitewash also reflects light, making your trees look healthier and more vibrant.
Plus, it washes away rain naturally, so maintenance is minimal—just reapply every 2-3 years or after heavy storms. The results speak for themselves: trees that look cared for and stay strong through seasons.
This method works for most deciduous trees—think oaks, maples, and fruit trees—but skip it on evergreens or trees with rough bark, where it won’t stick well.
For best results, focus on trunks and lower branches where sun and pests cause the most damage. Ready to give your trees the protection they deserve?
📚 In This Guide
- What you need
- Instructions
- Tips and common mistakes
- Wrapping up and next steps
What you need
- ● Whitewash paint: 1 gallon (or enough to cover your tree trunks). Choose a lime-based or water-based formula for safety and durability. Look for products labeled for organic gardening or bark protection.
- ● Paintbrush or roller: A wide-angle brush (2-3 inches) or a textured roller for smooth application. Avoid sponges—they can leave streaks!
- ● Ladder or step stool: Adjustable height (if trees are tall). Ensure it’s stable and rated for your weight.
- ● Drop cloths or tarps: 2-3 medium-sized (to protect ground and nearby plants from drips).
- ● Paint tray or bucket: For mixing and holding whitewash. A 5-gallon bucket works well.
- ● Paint stirrer or stick: Wooden or metal, to mix the whitewash thoroughly.
- ● Gloves: Nitrile or rubber gloves to protect your hands from lime or chemicals.
- ○ Safety goggles: Optional but recommended if working with powdery lime-based whitewash.
- ● Extension pole: For hard-to-reach areas (attach to your brush or roller).
- ● Paint additive: A fungicide or insect repellent (like neem oil) to boost protection. Mix into the whitewash before application.
- ● Pruning shears: If you plan to trim dead branches or smooth rough bark before painting.
- ● Water spray bottle: To dampen the bark slightly before painting (helps adhesion).
- ● Second pair of hands: A friend to hold the ladder or assist with tall trees!
How to apply whitewash for tree trunk protection
This method shields bark from pests, sunscald, and winter damage—naturally and effectively.
Gather the Right Materials and Tools
Whitewash isn’t just paint—it’s a blend of lime, water, and sometimes milk or clay to create a breathable, protective layer. For 4 tree trunks, you’ll need 1 gallon of whitewash (store-bought or homemade), a stiff-bristle brush or roller, and a ladder or extension pole for taller trees. Avoid pressure washers—they strip bark before you even start.
Test a small patch first. If the whitewash leaves a chalky residue after drying, it’s too thick. Adjust the lime-to-water ratio (typically 1 part lime to 3 parts water) until it’s smooth but not runny. A properly mixed batch should spread evenly without dripping.
Clean and Prepare the Trunk
Start by removing loose bark, moss, or lichen with a plastic scraper—metal tools gouge the trunk. Wipe down the surface with a damp cloth to remove dust and debris. If the bark feels rough or cracked, focus extra attention there; these are the spots most vulnerable to pests like bark beetles or sunscald.
Wait until the trunk is completely dry before applying whitewash. Moisture trapped under the mixture can promote fungal growth. A good rule of thumb: apply on a warm, sunny day when temperatures are above 50°F—this ensures the whitewash dries quickly and adheres properly.
Apply the Whitewash Evenly
Use a stiff-bristle brush to apply the whitewash in vertical strokes, starting at the base and working upward. For smooth trunks, a roller with a fine nap works better—it prevents streaks and covers more area faster. Avoid piling on thick layers; a thin, even coat is all you need to reflect sunlight and deter pests.
Pay special attention to the southern and western sides of the trunk, where sunscald is most likely to occur. If your tree has deep fissures or cracks, lightly brush whitewash into them to seal out moisture and insects. Step back occasionally to check for missed spots—uneven coverage defeats the purpose.
Extend Protection to the Base and Surrounding Area
Don’t stop at the trunk. Extend the whitewash 12–18 inches outward from the base to create a protective barrier against rodents and splashing soil. This also helps prevent voles or rabbits from chewing the bark at ground level. Use a wide brush or roller for this area to cover the larger surface quickly.
For trees in urban or high-traffic areas, consider adding a 1-inch border around the drip line (the edge of the tree’s canopy). This deters foot traffic and protects young roots from compaction. Let the whitewash dry for 24 hours before walking near the tree to avoid smudging.
Reapply and Monitor Seasonally
Whitewash lasts 1–2 years, but its effectiveness fades with rain, sun exposure, and wear. Check the coating every spring and reapply if it looks faded, cracked, or peeling. A fresh layer ensures continuous protection against sunscald, frost cracks, and pest infestations.
If your tree is young or particularly vulnerable (like a newly planted fruit tree), apply whitewash annually during the dormant season. Older, established trees can often go 2 years between treatments. Always remove old whitewash residue before reapplying—scrub it off with a damp cloth to avoid buildup.
Tips & tricks for perfect tree trunk whitewashing
These practical insights will help you achieve flawless protection that lasts—without the common pitfalls that ruin the finish.
Mixing Precision: When adjusting the lime-to-water ratio in Step 1, aim for a consistency similar to heavy cream. Too thick, and you'll get that chalky residue; too thin, and it won't adhere properly. I've found that adding a splash of milk (about 1/4 cup per gallon) creates a smoother texture while maintaining breathability. Test on a scrap piece of bark first—this small step prevents wasted gallons.
Preparation is Key: In Step 2, focus on removing all loose debris before applying whitewash. I've seen fungal growth develop when moisture gets trapped under the coating—especially on rough bark. Use a stiff-bristle brush to gently scrub the trunk after scraping, then let it dry completely in sunlight. This ensures the whitewash bonds properly and provides maximum protection against sunscald.
Application Technique: For Step 3, work in small sections when using a brush—about 2 feet at a time. This prevents the whitewash from drying too quickly at the top while you're still working on the bottom. For large trunks, I recommend using a roller for the smooth areas and saving the brush for cracks and crevices. Always apply a second thin coat once the first is completely dry (usually within 1-2 hours) for full coverage.
Seasonal Timing: The instructions mention applying when temperatures are above 50°F, but I've found the ideal window is actually 60-75°F. In Step 2, wait until mid-morning on a sunny day when dew has evaporated completely. This ensures the whitewash dries within 2-3 hours rather than overnight, which prevents smudging from rain or animals. The 24-hour drying period mentioned in Step 4 is perfect for cooler weather.
Pro Tips for Whitewash Tree Trunks
- These practical insights will help you achieve flawless protection that lasts—without the common pitfalls that ruin the finish.
- Mixing Precision: When adjusting the lime-to-water ratio in Step 1, aim for a consistency similar to heavy cream.
- Preparation is Key: In Step 2, focus on removing all loose debris before applying whitewash.
Frequently asked questions
Got questions about whitewashing tree trunks?
You’re not alone! Here are answers to the most common queries to help you get the best results—without the guesswork.
Why should I whitewash my tree trunks in the first place?
Whitewashing protects tree bark from sunscald (sunburn damage), pests like borers, and temperature fluctuations. It also reflects heat, keeping trunks cooler—especially for young or thin-barked trees. Think of it as sunscreen for your trees!
When is the best time to apply whitewash?
Apply whitewash in late winter or early spring (before buds swell) or late summer/early fall (after summer stress). Avoid extreme heat or cold—ideal temps are between 50°F and 75°F. This timing ensures the bark has time to dry and absorb the protective layer.
Can I use regular white paint instead of whitewash?
Nope! Regular paint can seal moisture into the bark, causing rot or fungal issues. Whitewash is breathable and designed to protect without suffocating. If you’re DIY-ing, opt for a tree-specific formula or mix lime, water, and a bit of white latex paint (1:3 ratio).
Will whitewash attract pests or mold?
If applied correctly, whitewash repels pests like bark beetles and reduces mold risk. However, if the mixture is too thick or applied in humid conditions, mold can develop. To prevent this, stir well before use and apply on a dry, calm day. Reapply every 1–2 years for ongoing protection.
How do I remove old whitewash before reapplying?
Use a soft-bristle brush or plastic scraper to gently remove flaking layers. Avoid power washers—high pressure can damage bark. For stubborn residue, soak a cloth in warm, soapy water and wipe gently. Always check for peeling bark underneath; if you see damage, skip whitewash and consult an arborist.
Pro Tip:
For extra durability, add a 1/4 cup of zinc oxide per gallon of whitewash. This boosts UV protection and helps the mixture last longer. Just remember: less is more—thin layers work best!
Wrapping up and next steps
Whitewashing your tree trunks is a simple yet powerful way to protect your trees from pests, disease, and harsh weather—all while boosting their curb appeal! 🌳✨ By using natural, non-toxic materials like lime and water, you’re giving your trees a shield that’s both effective and eco-friendly.
Whether you’re a seasoned gardener or just starting out, this method is easy to master and makes a real difference in tree health.
Ready to give it a try? Grab your supplies, follow the steps, and watch your trees thrive! For extra care, check the whitewash annually and reapply as needed—your trees will thank you with lush, healthy growth for years to come. 🌿💚