
Pruning
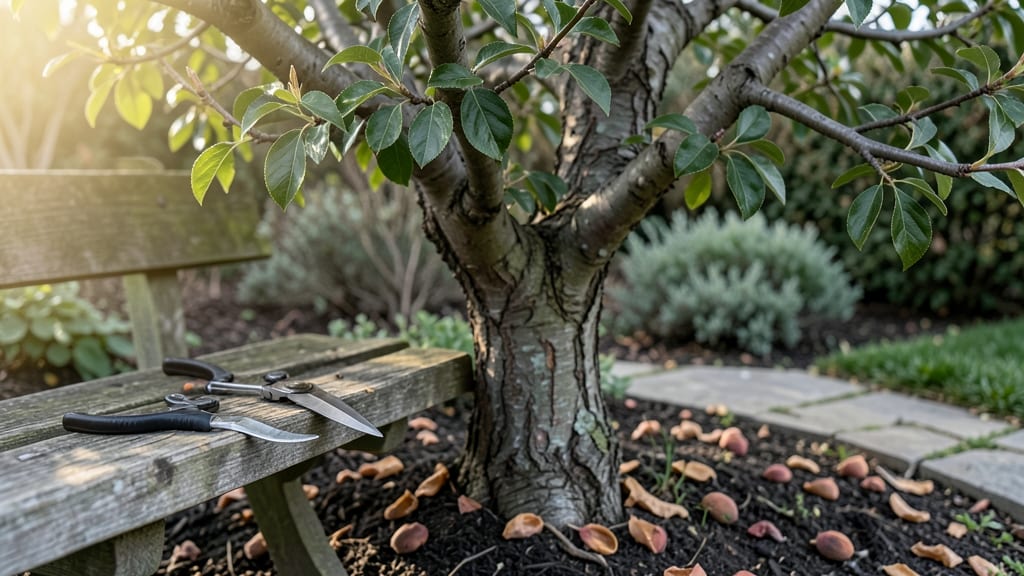
Cutting back peach trees in late winter—when the ground is still frozen but buds haven’t yet swollen—is the secret to stronger branches and bigger harvests next summer. 🌿 I’ve pruned my orchard for years, and this dormant-season timing makes all the difference between a tree that struggles and one that thrives.
The key isn’t just hacking away branches; it’s opening up the canopy to let sunlight reach the center, where fruit forms, while removing the deadwood that invites pests.
You’ll need just three tools: sharp loppers for thicker branches, a pruning saw for anything wider than your wrist, and rubbing alcohol to sterilize cuts between branches. Work on a dry day when the tree’s sap isn’t running—usually February or early March in most climates—so wounds heal faster.
The goal is to shape the tree like an open vase, with the widest part at the top and narrower toward the trunk.
After you’re done, you’ll see fresh green leaves pushing from the center by spring, and next year’s fruit buds forming where sunlight finally touches. The tree breathes easier, diseases retreat, and those stubborn blind shoots (the ones that never bear fruit) get the boot.
It’s not about drastic cuts—just strategic ones that pay off in juicier peaches and fewer headaches.
Pro tip: Save your pruned branches to make peach tree cuttings for propagation later, or chop them into mulch for the base. And resist the urge to prune in fall—wounds left open then invite bacterial infections. Winter’s the perfect time to reset your tree’s growth for the season ahead.
📚 In This Guide
- What you need
- Instructions
- Tips and common mistakes
- Wrapping up and next steps
What you need
- ● Pruning shears: Sharp, bypass-style shears (for small branches, 6–8 inches long).
- ● Loppers: Heavy-duty, 18–24 inches long (for thicker branches up to 2 inches in diameter).
- ● Pruning saw: Curved-tooth saw (for branches thicker than 2 inches).
- ● Disinfectant (70% isopropyl alcohol or bleach solution): 1 part bleach to 9 parts water (to sterilize tools between cuts).
- ● Gloves: Heavy-duty, cut-resistant gloves (peach trees can have thorns!).
- ● Rag or paper towels: For wiping tools between cuts.
- ● Ladder or step stool: If your tree is taller than 6 feet.
- ● Trash bags or bucket: For collecting pruned branches (compost or dispose of them).
- ● Hand pruners with a ratchet: For larger branches (reduces effort).
- ● Tree wound dressing: (Controversial—skip if unsure; peach trees heal best without it!).
- ● Marking spray (white paint or tape): To mark cuts for future reference.
- ● Safety glasses: Protect your eyes from debris.
Step-by-step guide to pruning peach trees in winter
Here's how to refresh your tree and set it up for bountiful fruit next season.
✂️ Step 1: Gather Tools and Safety Gear
Start with clean, sharp tools—dull blades tear bark and invite disease. Use bypass pruners for branches up to ½ inch thick and a pruning saw for thicker limbs. I always disinfect my tools with rubbing alcohol between cuts to prevent spreading bacterial canker, a common peach tree killer.
Wear gloves to protect against thorns and bring a bucket to collect debris. A ladder or sturdy step stool helps reach higher branches safely. I mark my tools with a piece of tape to avoid mixing them up with other garden tools—this prevents cross-contamination between trees.
✂️ Step 2: Remove Dead, Diseased, or Damaged Wood
Scan the tree for branches that are brown, mushy, or oozing sap—these are clear signs of disease or death. Cut these out first, making your cuts ¼ inch above a bud that faces the outside of the tree. This ensures new growth heads outward, improving air circulation and sunlight penetration.
Look for crossing branches or those rubbing against each other. These weak points invite infection and should be removed entirely. I always step back after each cut to visualize the tree's shape—this helps me spot problem areas I might have missed from up close.
✂️ Step 3: Thin the Canopy for Better Airflow
Peach trees need good airflow to prevent fungal diseases. Aim to remove 20-30% of the tree's total branches, focusing on those growing inward or downward. These branches block sunlight and trap moisture, creating perfect conditions for rot.
Start at the outer edges and work your way inward. Remove branches that are too close together—this opens up the center of the tree. I like to leave the strongest, most vigorous branches, even if they're not perfectly positioned, because they'll produce the best fruit.
✂️ Step 4: Shape the Tree for Optimal Fruit Production
Peach trees benefit from an open-center shape, which allows sunlight to reach the center branches. Cut back any branches that grow straight up—these are called "water sprouts" and drain the tree's energy. Instead, encourage horizontal branches by pruning vertical ones back to a side branch or bud.
For young trees, I focus on establishing a strong scaffold of branches. For mature trees, I prune to maintain that open center while removing any suckers growing from the base. This keeps the tree's energy focused on fruit production rather than unnecessary growth.
✂️ Step 5: Clean Up and Apply Protective Measures
Rake up all debris and dispose of it in the trash—not the compost pile—to prevent reinfecting your tree. Seal larger pruning wounds with a tree wound sealant if they're bigger than ½ inch in diameter. For smaller cuts, let them heal naturally—the sealant can sometimes trap moisture and cause rot.
After pruning, I apply a fresh layer of mulch around the base to retain moisture and regulate soil temperature. This is also a great time to fertilize lightly with a balanced, slow-release fertilizer to support new growth in spring. Avoid heavy fertilization now—it encourages tender new growth that can't survive winter frosts.
Tips & tricks for perfect winter peach tree pruning
Winter pruning transforms your peach tree into a fruit-producing powerhouse—here's how to avoid common pitfalls and get pro-level results.
Tool Prep is Non-Negotiable: I can't stress this enough—your tools must be sharper than a chef's knife. Dull pruners tear bark, creating wounds that invite bacterial canker. Test your bypass pruners on a scrap branch first: if they don't cut cleanly through a ½-inch branch, sharpen them. And always disinfect between cuts using rubbing alcohol (I keep a small spray bottle handy). This simple step prevents spreading disease from one infected branch to healthy ones.
Visualize the Tree's Future: Before making any cuts, step back and mentally trace the tree's ideal shape. In Step 3, when you're thinning the canopy, imagine sunlight streaming through the center. Remove branches that grow inward at a 20-30% ratio—this isn't arbitrary! That's the magic number for maintaining airflow while keeping enough foliage for photosynthesis. I like to sketch a rough diagram first, especially for mature trees where I need to maintain that open center.
Bud Position Matters More Than You Think: In Step 2, when making those critical cuts ¼ inch above a bud, pay attention to which way the bud faces. Outward-facing buds create branches that grow away from the center, improving sunlight exposure. I've made the mistake of ignoring this detail—next year, my tree had dense clusters of fruit that shaded each other and never ripened properly. Take the extra 10 seconds to check each cut.
Prune for Next Year's Fruit: Here's what nobody tells you—you're not just cleaning up, you're setting up next season's harvest. In Step 4, when you're shaping the tree, prioritize branches that bore fruit last year. These are your "keeper" branches. Remove any water sprouts (those vertical shoots) immediately—they're energy vampires. I make a point to mark these with colored tape during summer so I remember which branches to protect during winter pruning.
Pro Tips for Cutting Back Peach Trees
- Winter pruning transforms your peach tree into a fruit-producing powerhouse—here's how to avoid common pitfalls and g...
- Tool Prep is Non-Negotiable: I can't stress this enough—your tools must be sharper than a chef's knife. Dull pruners ...
- Visualize the Tree's Future: Before making any cuts, step back and mentally trace the tree's ideal shape. In Step 3, ...
Frequently asked questions
Got questions about pruning peach trees?
Here are some of the most common ones—plus clear answers to help you prune like a pro!
When is the best time to cut back peach trees?
Late winter to early spring (just before buds swell) is ideal—typically February to March in most climates. This timing minimizes disease risk and promotes vigorous growth. Avoid pruning in fall, as wounds may not heal before winter, inviting pests or rot.
How much can I trim a peach tree without harming it?
Remove no more than 25-30% of the tree’s total growth in one season. Focus on:
- Dead, diseased, or crossing branches
- Suckers (shoots at the base)
- Water sprouts (vertical growth)
Do I need special tools to prune a peach tree?
Yes! Use:
- Bypass pruners (for small branches)
- Loppers (2-4” branches)
- Pruning saw (thicker limbs)
- Disinfectant (rubbing alcohol or bleach solution)
What if my peach tree doesn’t have many branches to trim?
If your tree is young or sparse, focus on:
- Opening the canopy for sunlight
- Removing weak growth to encourage stronger branches
- Thinning out crowded fruit clusters (if bearing)
How do I know if I’ve pruned correctly?
Look for these signs of success:
- An open center (not too dense)
- Smooth cuts (not jagged)
- No stubs (cut just outside the branch collar)
- Healthy new growth in spring
Wrapping up and next steps
Cutting back your peach trees in winter isn’t just about tidying up—it’s a game-changer for their health, fruit production, and longevity. 🌱 By following the right techniques, timing, and tools, you’ll set your trees up for bursting growth and sweet, abundant harvests next season.
Now that you’re armed with the know-how, there’s only one step left: roll up your sleeves and get pruning!
Start small if you’re new to pruning—confidence grows with practice. And remember, every snip is a step toward a thriving orchard. Happy pruning! 🌿✂️