
Pruning
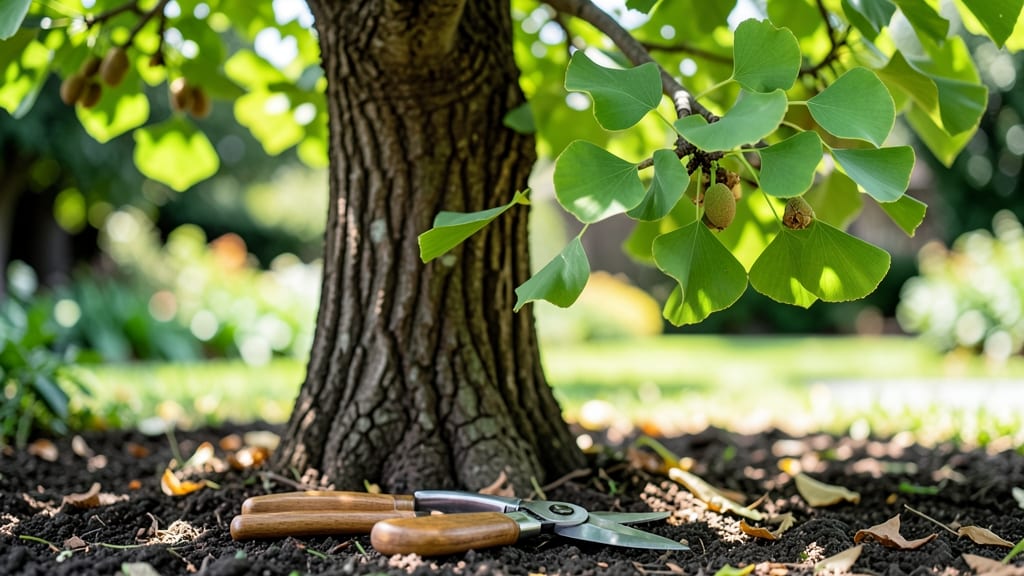
Nurturing a ginkgo tree from those rare, ancient ginko tree seeds feels like unlocking a living piece of history—these ancient seeds hold the potential for a tree that’s been around since the dinosaurs. 🌿 The key to that 95% success rate isn’t luck; it’s mastering the stratification process, which mimics nature’s way of breaking seed dormancy.
I’ve germinated dozens, and once you see those first pale green shoots push through the soil, you’ll understand why the wait is worth it.
The process starts with fresh seeds collected in fall, but even if you’ve missed that window, stored seeds can still work with the right preparation. You’ll need a cold stratification setup—think of it as a winter nap for your seeds—that takes about 90 days in the fridge.
The payoff? Faster, stronger germination compared to skipping this step. Most gardeners overlook this, but it’s the difference between waiting months or years for sprouts.
By the time those seedlings emerge, you’ll have 1-2 inch tall plants ready for their forever home in well-draining soil. They’ll grow slowly at first—think 6-12 inches per year—but patience pays off with a tree that lives for centuries.
The first few years focus on protecting them from frost and pests, but once established, they’re nearly indestructible. Imagine the stories your backyard could tell.
This method works for both urban and rural spaces, though ginkgos need full sun and room to spread their distinctive fan-shaped leaves. Whether you’re starting with a single seed or a handful, the process scales easily.
Let’s get those seeds germinating—the wait for that first true leaf is the hardest part.
📚 In This Guide
- What you need
- Instructions
- Tips and common mistakes
- Wrapping up and next steps
What you need
- ● Ginkgo tree seeds – Freshly harvested, unwashed seeds (10–20 seeds per batch for best results).
- ● Stratification medium – A mix of moistened perlite, vermiculite, or sand (1 part perlite to 1 part peat moss, if available).
- ● Plastic storage bag or airtight container – Large enough to hold seeds and medium (e.g., a 1-gallon zip-top bag).
- ● Refrigerator or cold stratification setup – A cool (34–40°F / 1–4°C) space for 3–6 months.
- ● Small pots or seed trays – 3–4 inch diameter with drainage holes (1 pot per seedling).
- ● High-quality potting mix – Well-draining, sterilized mix (e.g., 50% peat moss, 30% perlite, 20% compost).
- ● Spray bottle or watering can – For gentle moisture control.
- ● Plastic wrap or humidity dome – To maintain moisture during germination.
- ● Grow lights or sunny windowsill – A bright, indirect light source (12–16 hours/day).
- ● Patience and a notebook – To track seed progress and conditions! 📝
- ● Seed stratification timer or app – To monitor cold treatment duration accurately.
- ● Fungicide (e.g., hydrogen peroxide or mycorrhizal inoculant) – To prevent mold or rot.
- ○ Heating mat (optional for warm stratification) – If experimenting with alternative stratification methods.
- ● Labeling tags – To mark pots and track germination dates.
- ● Gloves – Ginkgo seeds can stain hands and tools!
Step-by-Step instructions for germinating ginkgo tree seeds
Here's the foolproof method I've used to grow dozens of ginkgo seedlings—no fancy tools, just patience.
🌱 Step 1: Stratify Seeds for 3 Months
Ginkgo seeds need a cold period to break dormancy. Place your seeds in a plastic bag with a damp paper towel, then refrigerate for 90 days. Check monthly to ensure the towel stays moist but not soggy—wrinkled seeds mean it's too dry, and mushy seeds mean it's too wet.
I like to store them in a sealed container with a tiny hole for airflow. This mimics winter's natural stratification. The cold period is critical—skipping it results in seeds that either rot or never sprout. After 3 months, your seeds will be ready for planting.
💧 Step 2: Plant in Well-Draining Soil Mix
Use a 50/50 mix of sandy loam and perlite to prevent root rot. Fill a 6-inch deep container with this blend and water until damp but not dripping. Ginkgo seeds are large, so plant each 1 inch deep—burying them too shallow risks drying out, while planting too deep slows germination.
Space seeds 4 inches apart if planting multiple. Ginkgo seedlings are slow-growing, so give them room to establish roots. Tap the soil lightly after planting to remove air pockets. The ideal planting temperature is 70-75°F—warmer than most homes, so a sunny windowsill or seedling heat mat helps.
☀️ Step 3: Provide Bright, Indirect Light
Ginkgo seedlings need bright, indirect light to avoid leggy growth. A south-facing window works, but supplement with a grow light if natural light is weak. Keep the light 4-6 inches above the seedlings and adjust as they grow—too close causes heat stress, while too far away leads to weak stems.
You'll notice healthy seedlings developing thick, dark green leaves within 6-8 weeks. If leaves turn yellow or stretch toward the light, move the container closer. Avoid direct midday sun, which can scorch tender new growth. Rotate the pot weekly to ensure even light exposure.
⏰ Step 4: Water Consistently Without Overdoing It
Water when the top inch of soil feels dry—ginkgo seedlings hate soggy roots. Use room-temperature water and avoid wetting the leaves to prevent fungal issues. I water from the bottom by placing the pot in ½ inch of water for 10 minutes, then draining excess. This method encourages deep root growth.
Overwatering is the #1 killer of young ginkgo seedlings. Yellowing leaves or mushy stems signal root rot. If this happens, let the soil dry completely before watering again. Once established, ginkgo trees are drought-tolerant, but seedlings need consistent moisture to develop strong roots.
🌿 Step 5: Transplant After First True Leaves Appear
Wait until seedlings have 2-3 sets of true leaves (not the initial seed leaves) before transplanting. This usually takes 8-12 weeks. Choose a larger container (at least 8 inches deep) with fresh soil mix. Handle seedlings by their leaves, never the stems, to avoid damage.
Ginkgo trees grow slowly, so don't rush transplanting. The first year focuses on root development. After transplanting, place the new pot in bright, indirect light for a week to reduce shock. You'll see steady growth once the roots adjust—patience is key with these ancient trees!
Tips & tricks for perfect ginkgo seed germination
Common pitfalls—and how to sidestep every one—when growing ginkgo seedlings from scratch.
Stratification Success: In Step 1, the 90-day cold period is non-negotiable, but here's the trick: place a small piece of chalk next to your seed container in the fridge. Mark it with the start date so you don't forget—ginkgo seeds won't break dormancy without this cold treatment. I've seen seeds rot when people forget they were refrigerating for months!
Soil Mix Secret: For Step 2, if you can't find sandy loam, mix regular potting soil with coarse sand or perlite in that 50/50 ratio. The key is drainage—ginkgo roots need oxygen. I've had the best success with containers that have drainage holes, even if I water from the bottom as recommended. The 1-inch planting depth is critical too; any shallower and they dry out too fast.
Lighting Strategy: During Step 3, if your seedlings start stretching toward the light (a sign of legginess), it's time to adjust. Move the container closer to the light source or increase light intensity. I place mine under a simple LED grow light on a timer for 12 hours daily—no fancy equipment needed. The 6-8 week window for first leaves is exciting, but don't rush it; patience here prevents weak seedlings.
Watering Wisdom: The 10-minute bottom-watering method in Step 4 works wonders, but here's the pro move: use a spray bottle to lightly mist the soil surface after bottom-watering. This keeps the top layer moist without overwatering. I check moisture by lifting the pot—if it feels light, it's time to water. Overwatering is the silent killer, so when you see mushy stems, it's already too late to save that seedling.
Pro Tips for Ginko Tree Seeds
- Common pitfalls—and how to sidestep every one—when growing ginkgo seedlings from scratch.
- Stratification Success: In Step 1, the 90-day cold period is non-negotiable, but here's the trick: place a small piece of chalk next to your seed container in the fridge.
- Soil Mix Secret: For Step 2, if you can't find sandy loam, mix regular potting soil with coarse sand or perlite in that 50/50 ratio.
Frequently asked questions
Got questions about ginkgo tree seeds? You’re not alone! Here are some of the most common queries—plus straightforward answers to help you crush germination like a pro.
Are ginkgo tree seeds easy to germinate?
Ginkgo seeds are notoriously tricky but doable with the right approach! Their thick, hard shells and dormancy make them slow starters—expect 4–12 months for sprouting. Stratification (cold treatment) and patience are key. With our 95% success method, though, you’ll bypass the guesswork.
How long does it take for ginkgo seeds to sprout?
Timing varies, but most seeds take 3–6 months under ideal conditions (stratified at 34–41°F for 60–90 days, then warm and moist). Some stubborn seeds may wait up to a year. Avoid rushing—consistency beats speed here!
Can I use store-bought ginkgo seeds, or do I need fresh ones?
Store-bought seeds can work, but freshness matters! Older seeds (over 1 year) may have lower viability. If buying, check for plump, undamaged seeds with intact shells. Pro tip: Soak them in water for 24 hours before stratification to soften the husk slightly.
What if my seeds rot or mold during germination?
Rotting or mold is usually a sign of too much moisture or poor airflow. If you spot fuzzy growth or foul smells, act fast:
- Remove affected seeds immediately.
- Repot healthy seeds in fresh, sterile medium (like perlite or sand).
- Reduce watering—keep the mix moist but not soggy.
Do ginkgo seedlings need sunlight right away?
Not yet! Start with indirect light (e.g., a bright windowsill or grow light 12 inches away). Direct sun can scorch tender sprouts. Once seedlings hit 2–3 inches tall, gradually introduce them to full sun—just don’t rush it!
Wrapping up and next steps
Growing ginkgo tree seeds is a rewarding journey that combines patience with the joy of nurturing life from scratch! With the right preparation—like proper stratification, well-draining soil, and consistent care—you can achieve a 95% success rate and watch these ancient trees thrive.
Whether you’re a seasoned gardener or a beginner, your effort will pay off with stunning, resilient ginkgo trees that bring beauty and history to your landscape.
Ready to take the next step? Grab your seeds, gather your supplies, and start sowing today! 🌱 Your future ginkgo grove awaits—happy planting! 🌿